DIY Landscaping Project Using Trailing Rosemary Ground Cover
Rosmarinus Officinalis Prostratus
Big Drought
I live in Northern California, land of the 5-year drought (2011-2015). In addition to not seeing rain for 5 years, we also experienced California’s hottest years in recorded history for 2014 and 2015.
Life Got a Little Weird in the ‘Burbs
The drought required water rationing and new rules for living – limits on usage per household, no new landscaping or pool permits; no replacing evaporated water from pools; usage trackers from the utility company, no car washing at home; penalties for exceeding water allotments regardless of number of residents. And then there was this catchy little phrase posted on the sides of water utility trucks “If it’s brown flush it down, if it’s yellow let it mellow”. Ack!
But the Trees Will Survive, Right?
We were allowed 10 minutes, twice a week for landscape watering. In the shower, as the water heated up, we’d capture water in buckets and haul it outside to save our trees – and still ended up losing 3 of 8 trees. We replaced grass with rocks, and let all other areas go wild – which meant our landscaping withered and died.
Let the Reclamation Begin!
Now five years later in 2020, we are still reclaiming our yard, one section at a time. But our history with drought has taught us to chose wisely. This year we’re adding Trailing Rosemary Ground Cover.
An Obstacle or Two
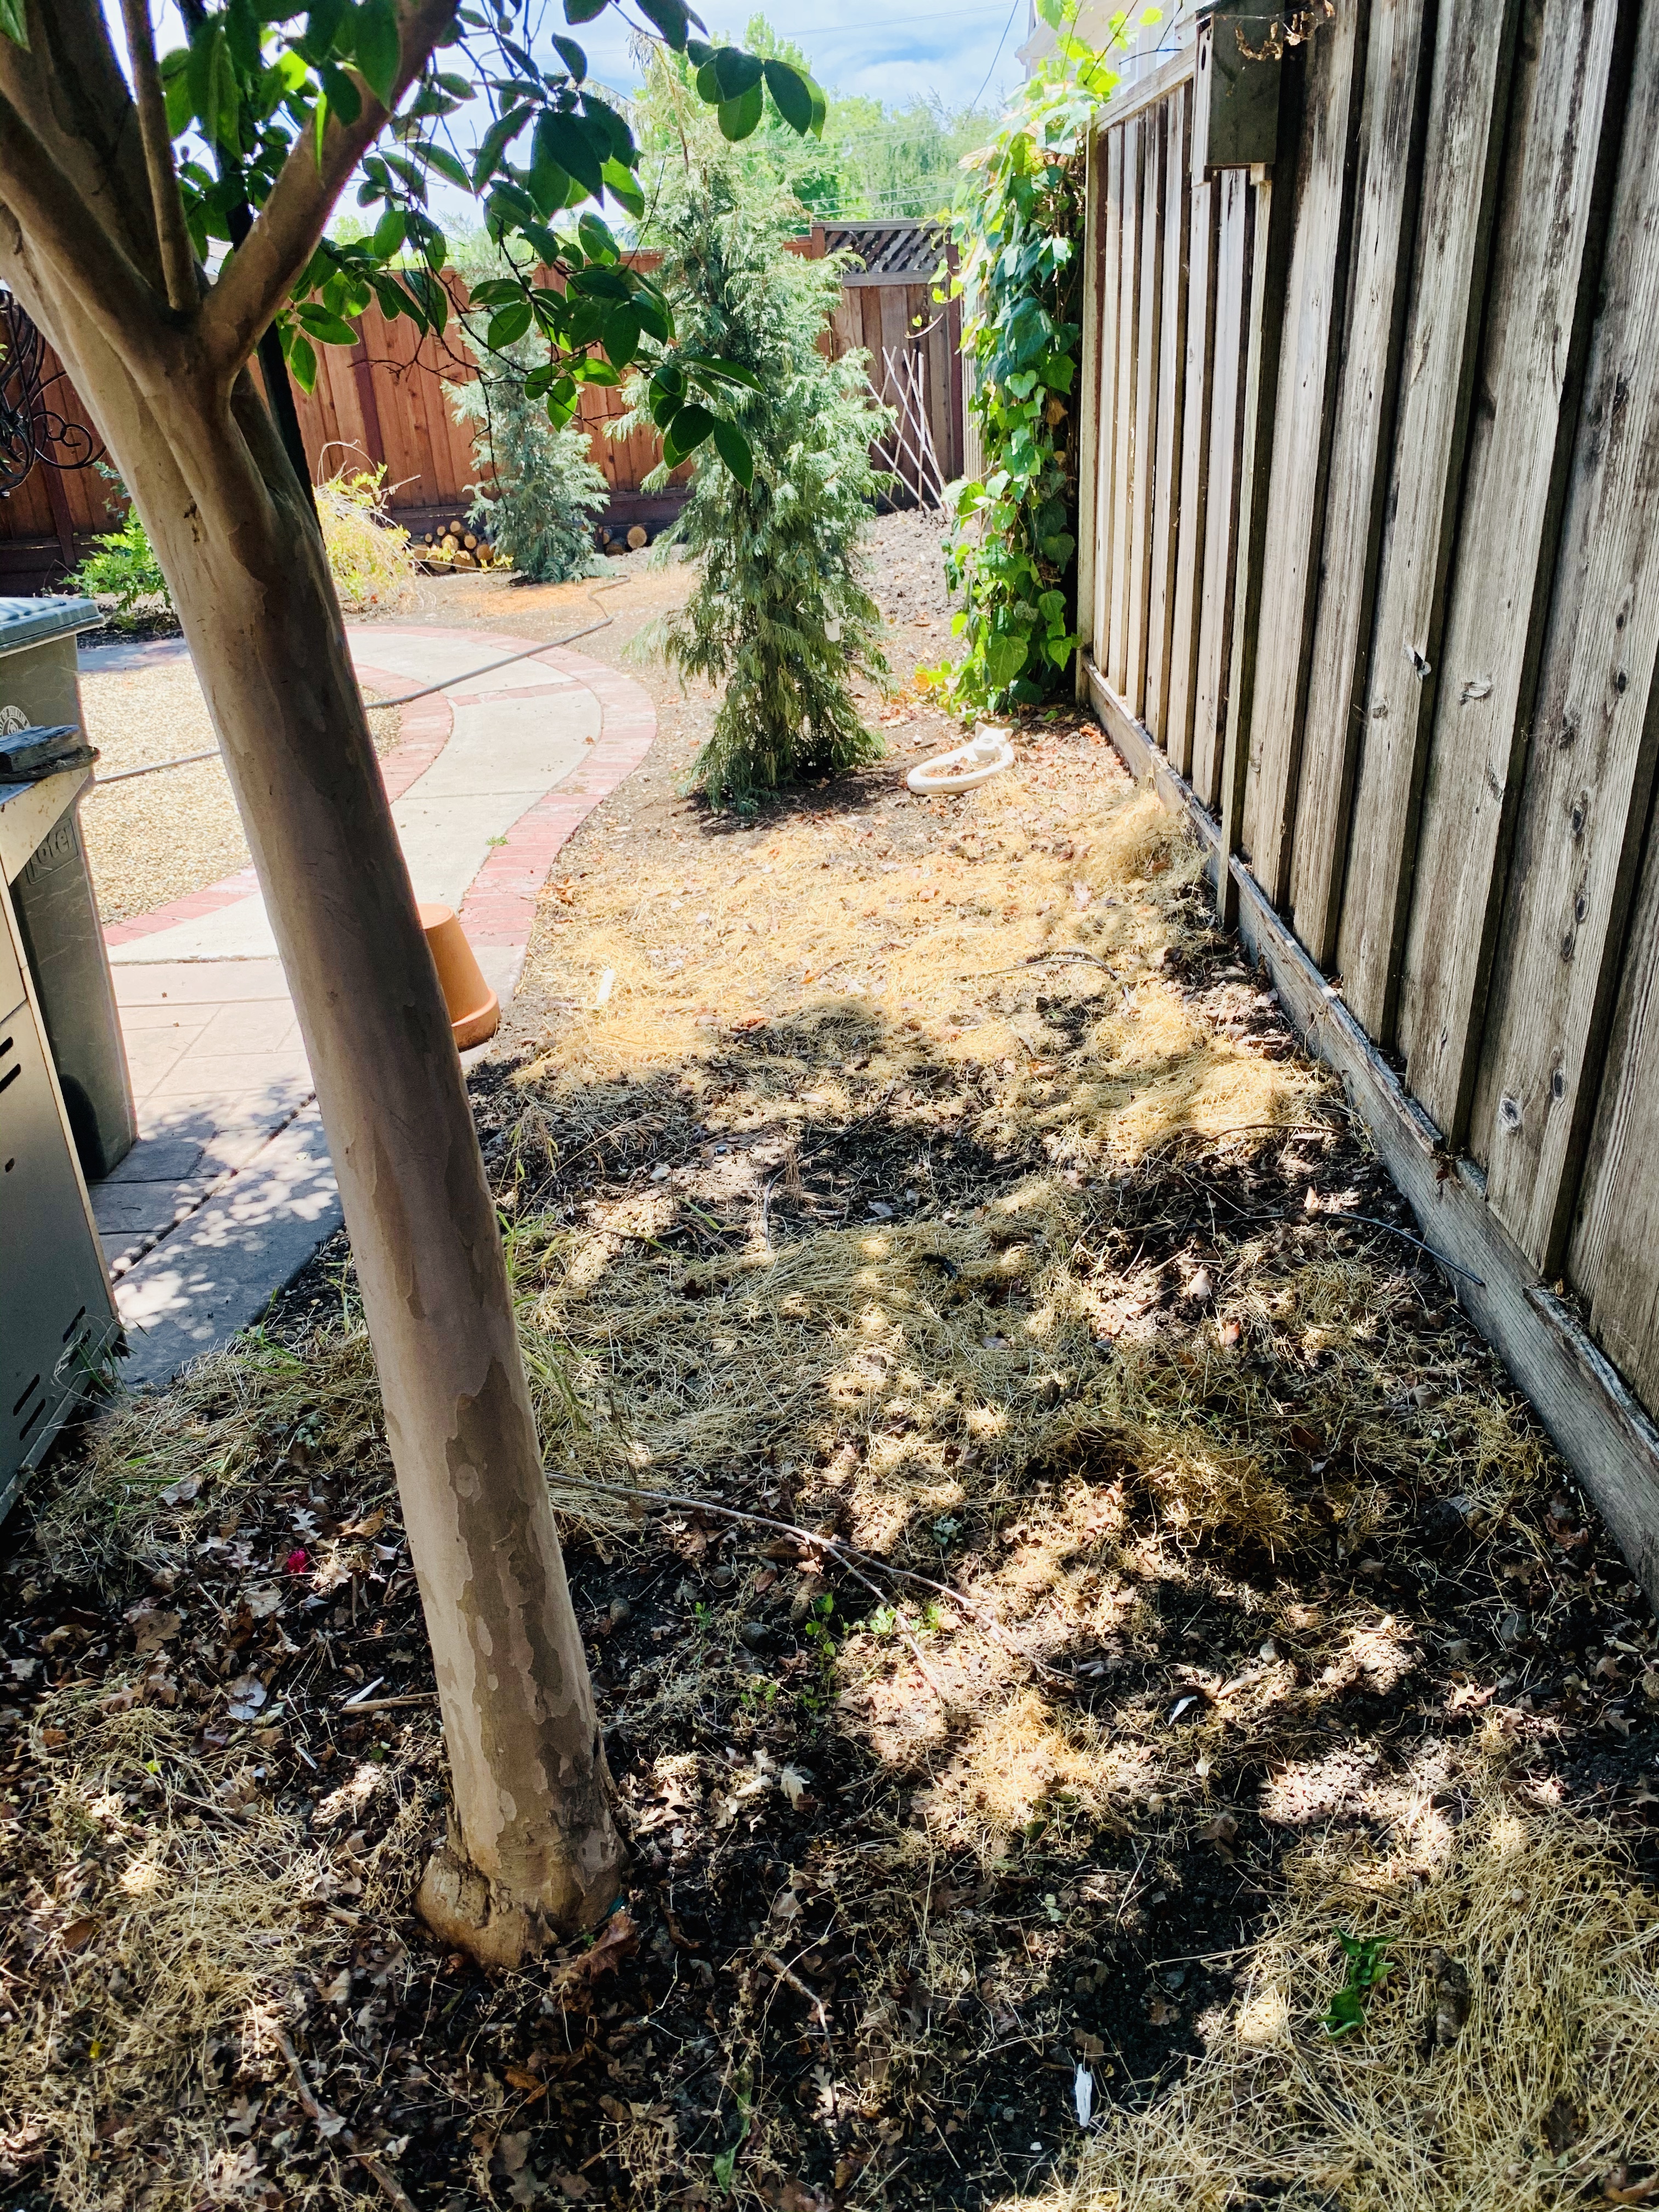
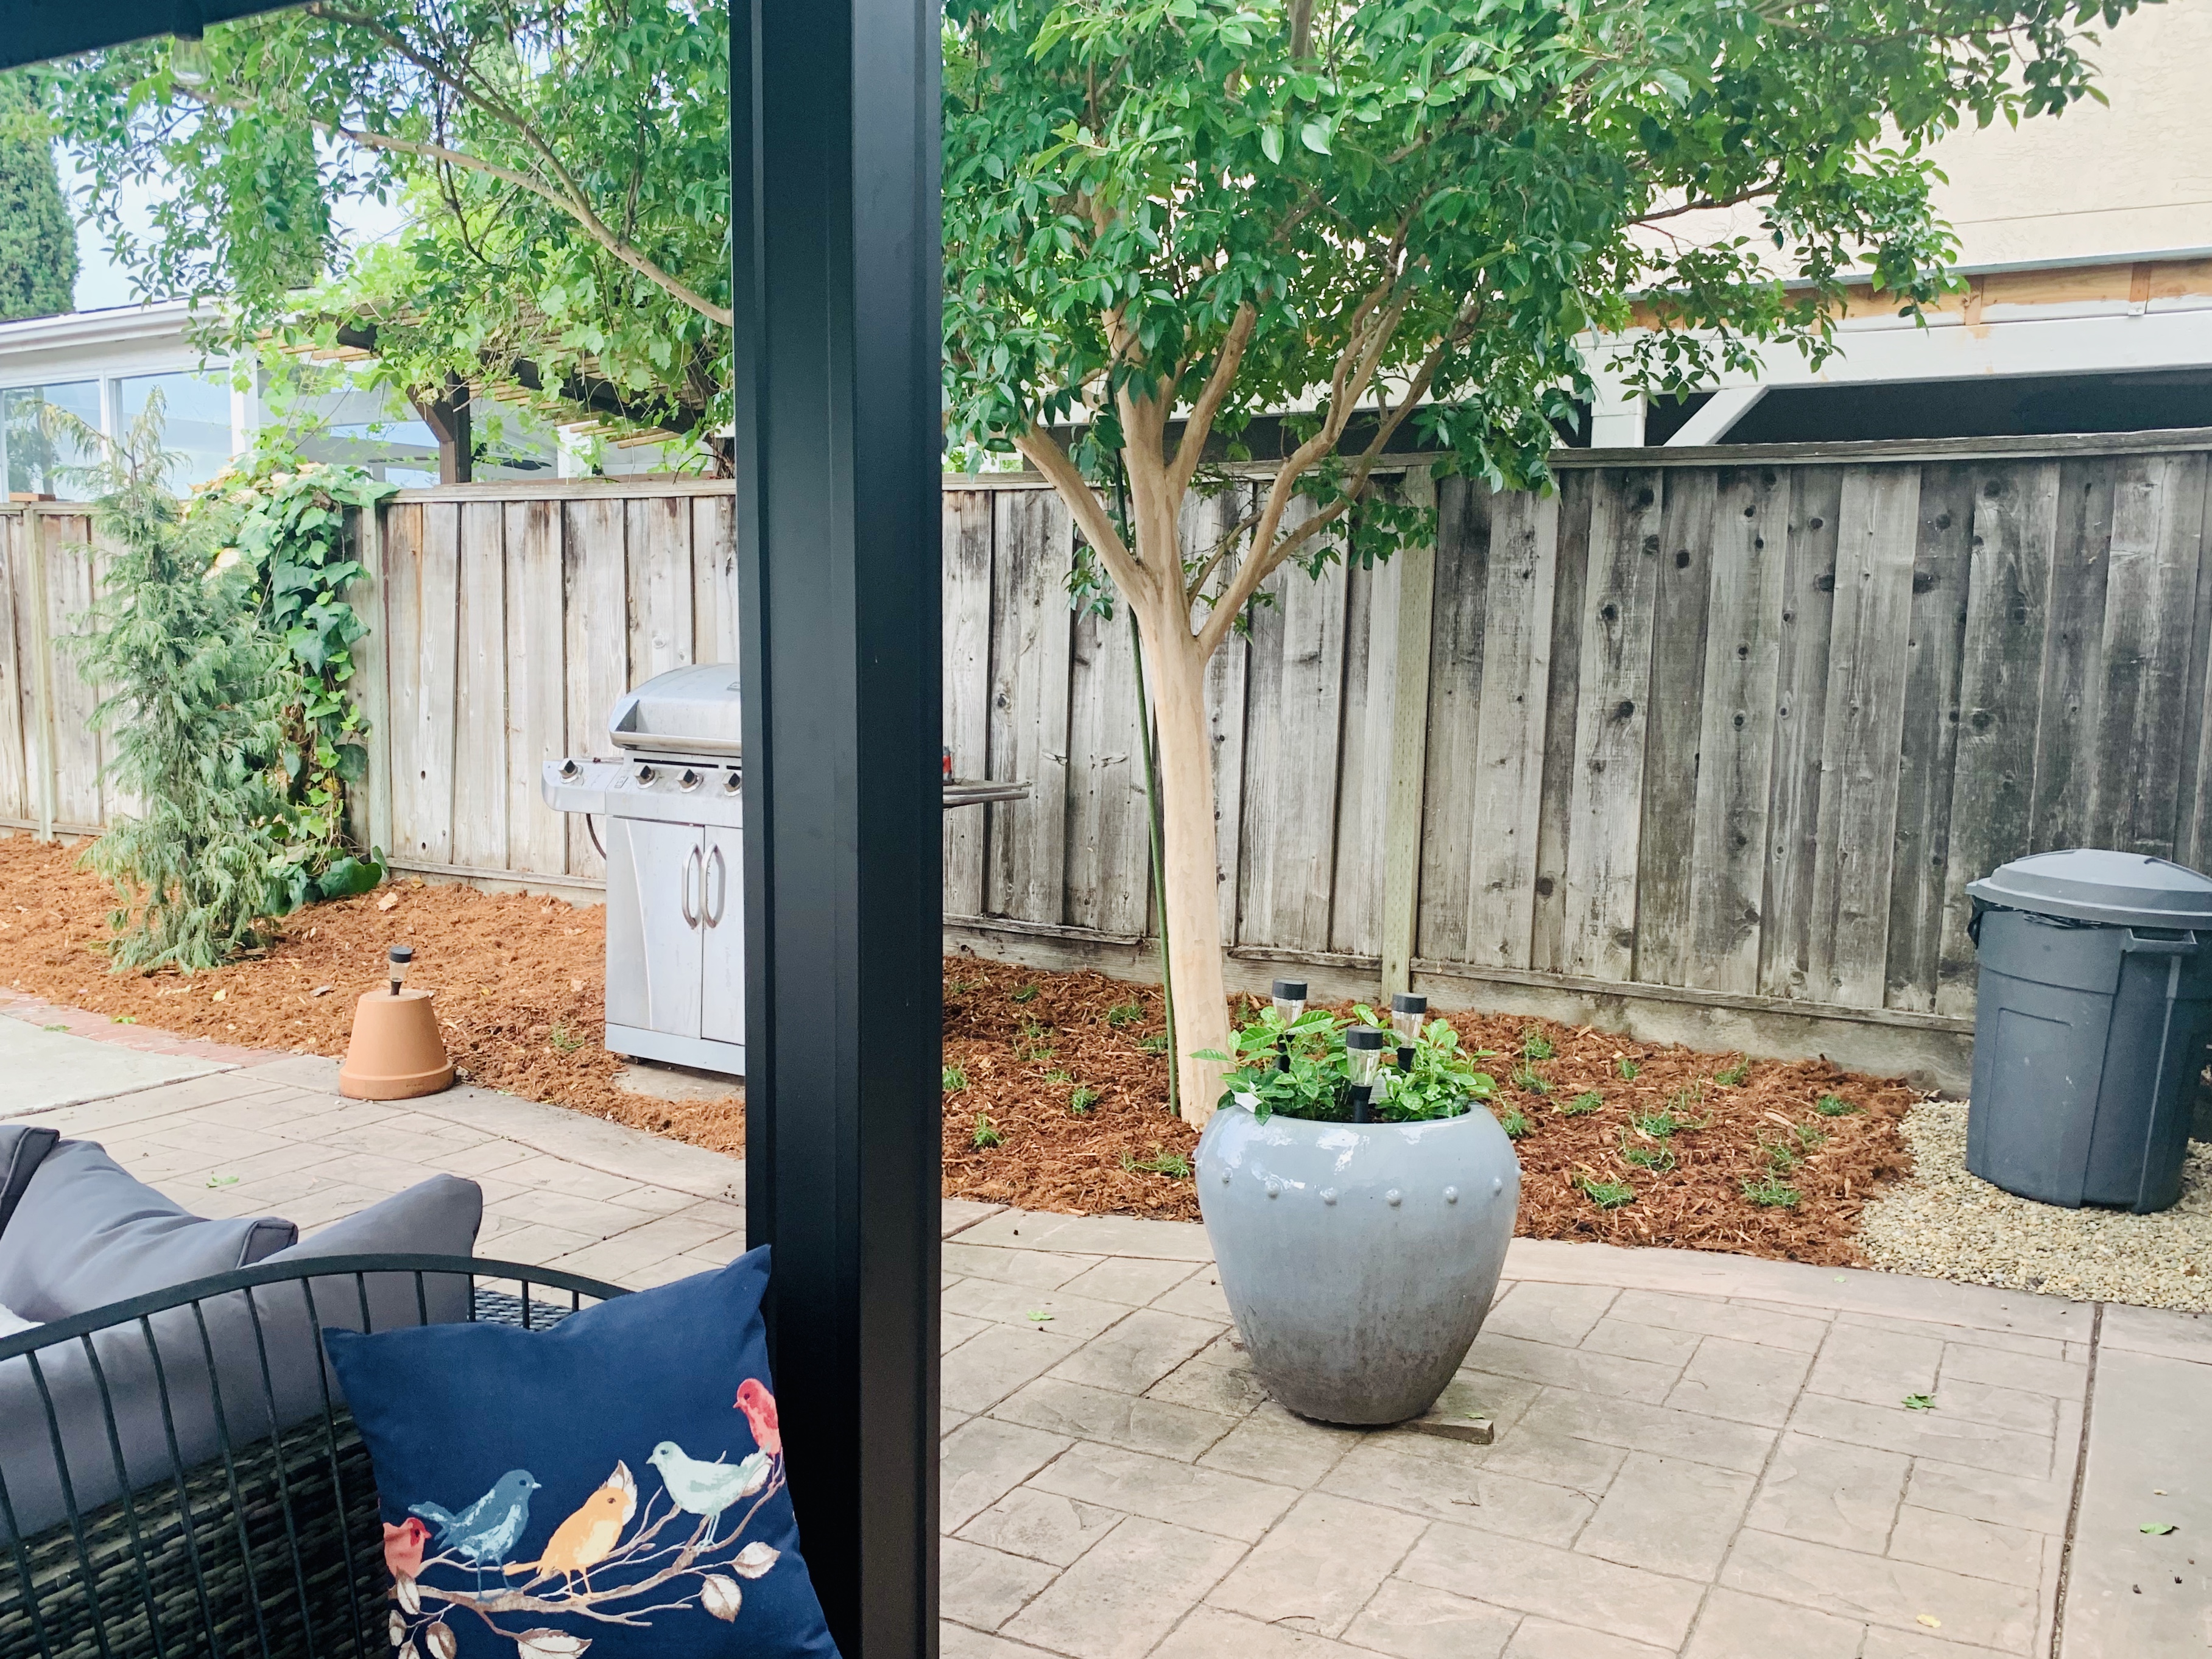
This project is located on the the west side of my backyard. The space borders our patio on one side and my neighbor’s fence on the other. It has a few challenges, the biggest being a large cement pad that the previous homeowners added as the anchor for a landscaping well. Because the well was un-permitted, the city required that we fill the well-pipe with cement when we bought the property. But the big cement pad remained.
Messy But Lovely
This space already included one shade-making, flower dropping, hard-pokey-pods-that-kill-bare feet, Crape Myrtle tree. But, the Crape Myrtle has a lovely canopy and is a good size to border our patio, so it stays. Plus the hummingbirds love it.
Also, we planted four new Leyland Cypress trees in June of 2020. The idea for the Cypress trees is to create privacy, a sound barrier and a wall of green.


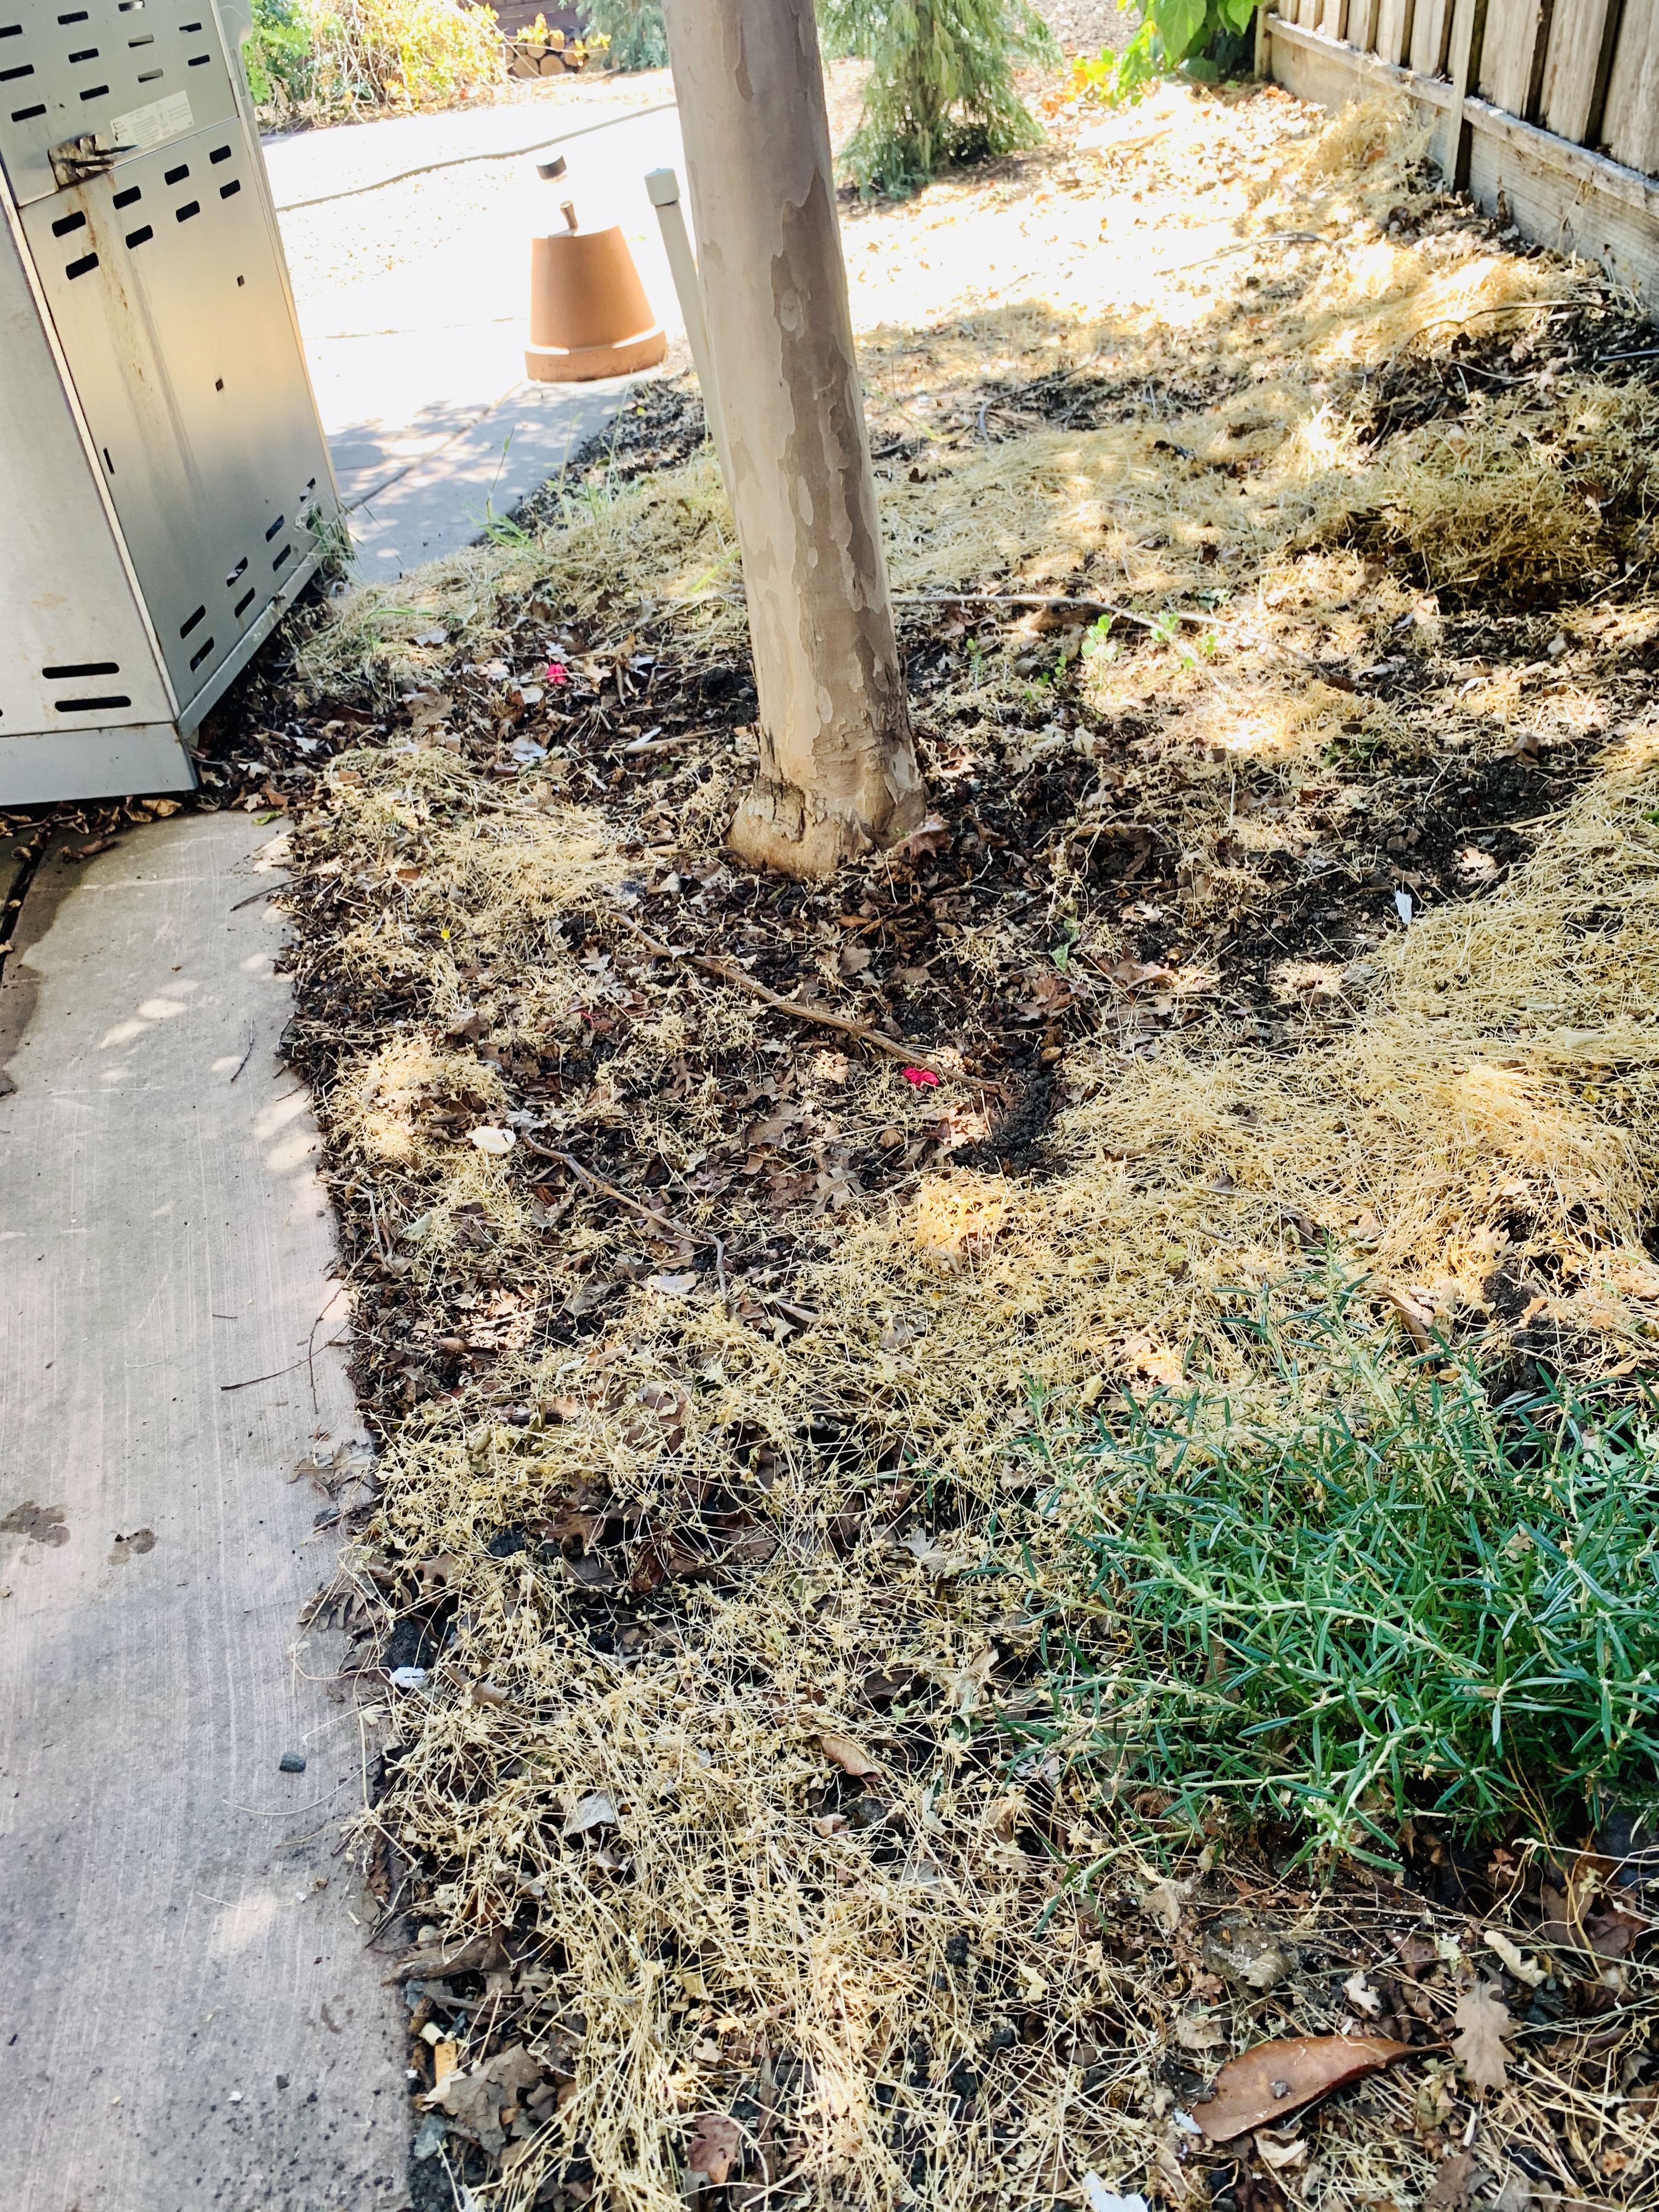
Future Site for Rosemary and Patio Trash Can
My goals for this project:
1. Create a carpet of green
2. Grow something edible
3. Aromatic plants
4. Drought tolerant
5. Low maintenance
6. Evergreen
7. Dog Tolerant
8. Pollinator friendly
9. Suitable for USDA Zone 9b
10. Give the patio trashcan a nicer home
11. A home for our BBQ Grill
Here are more before pics…
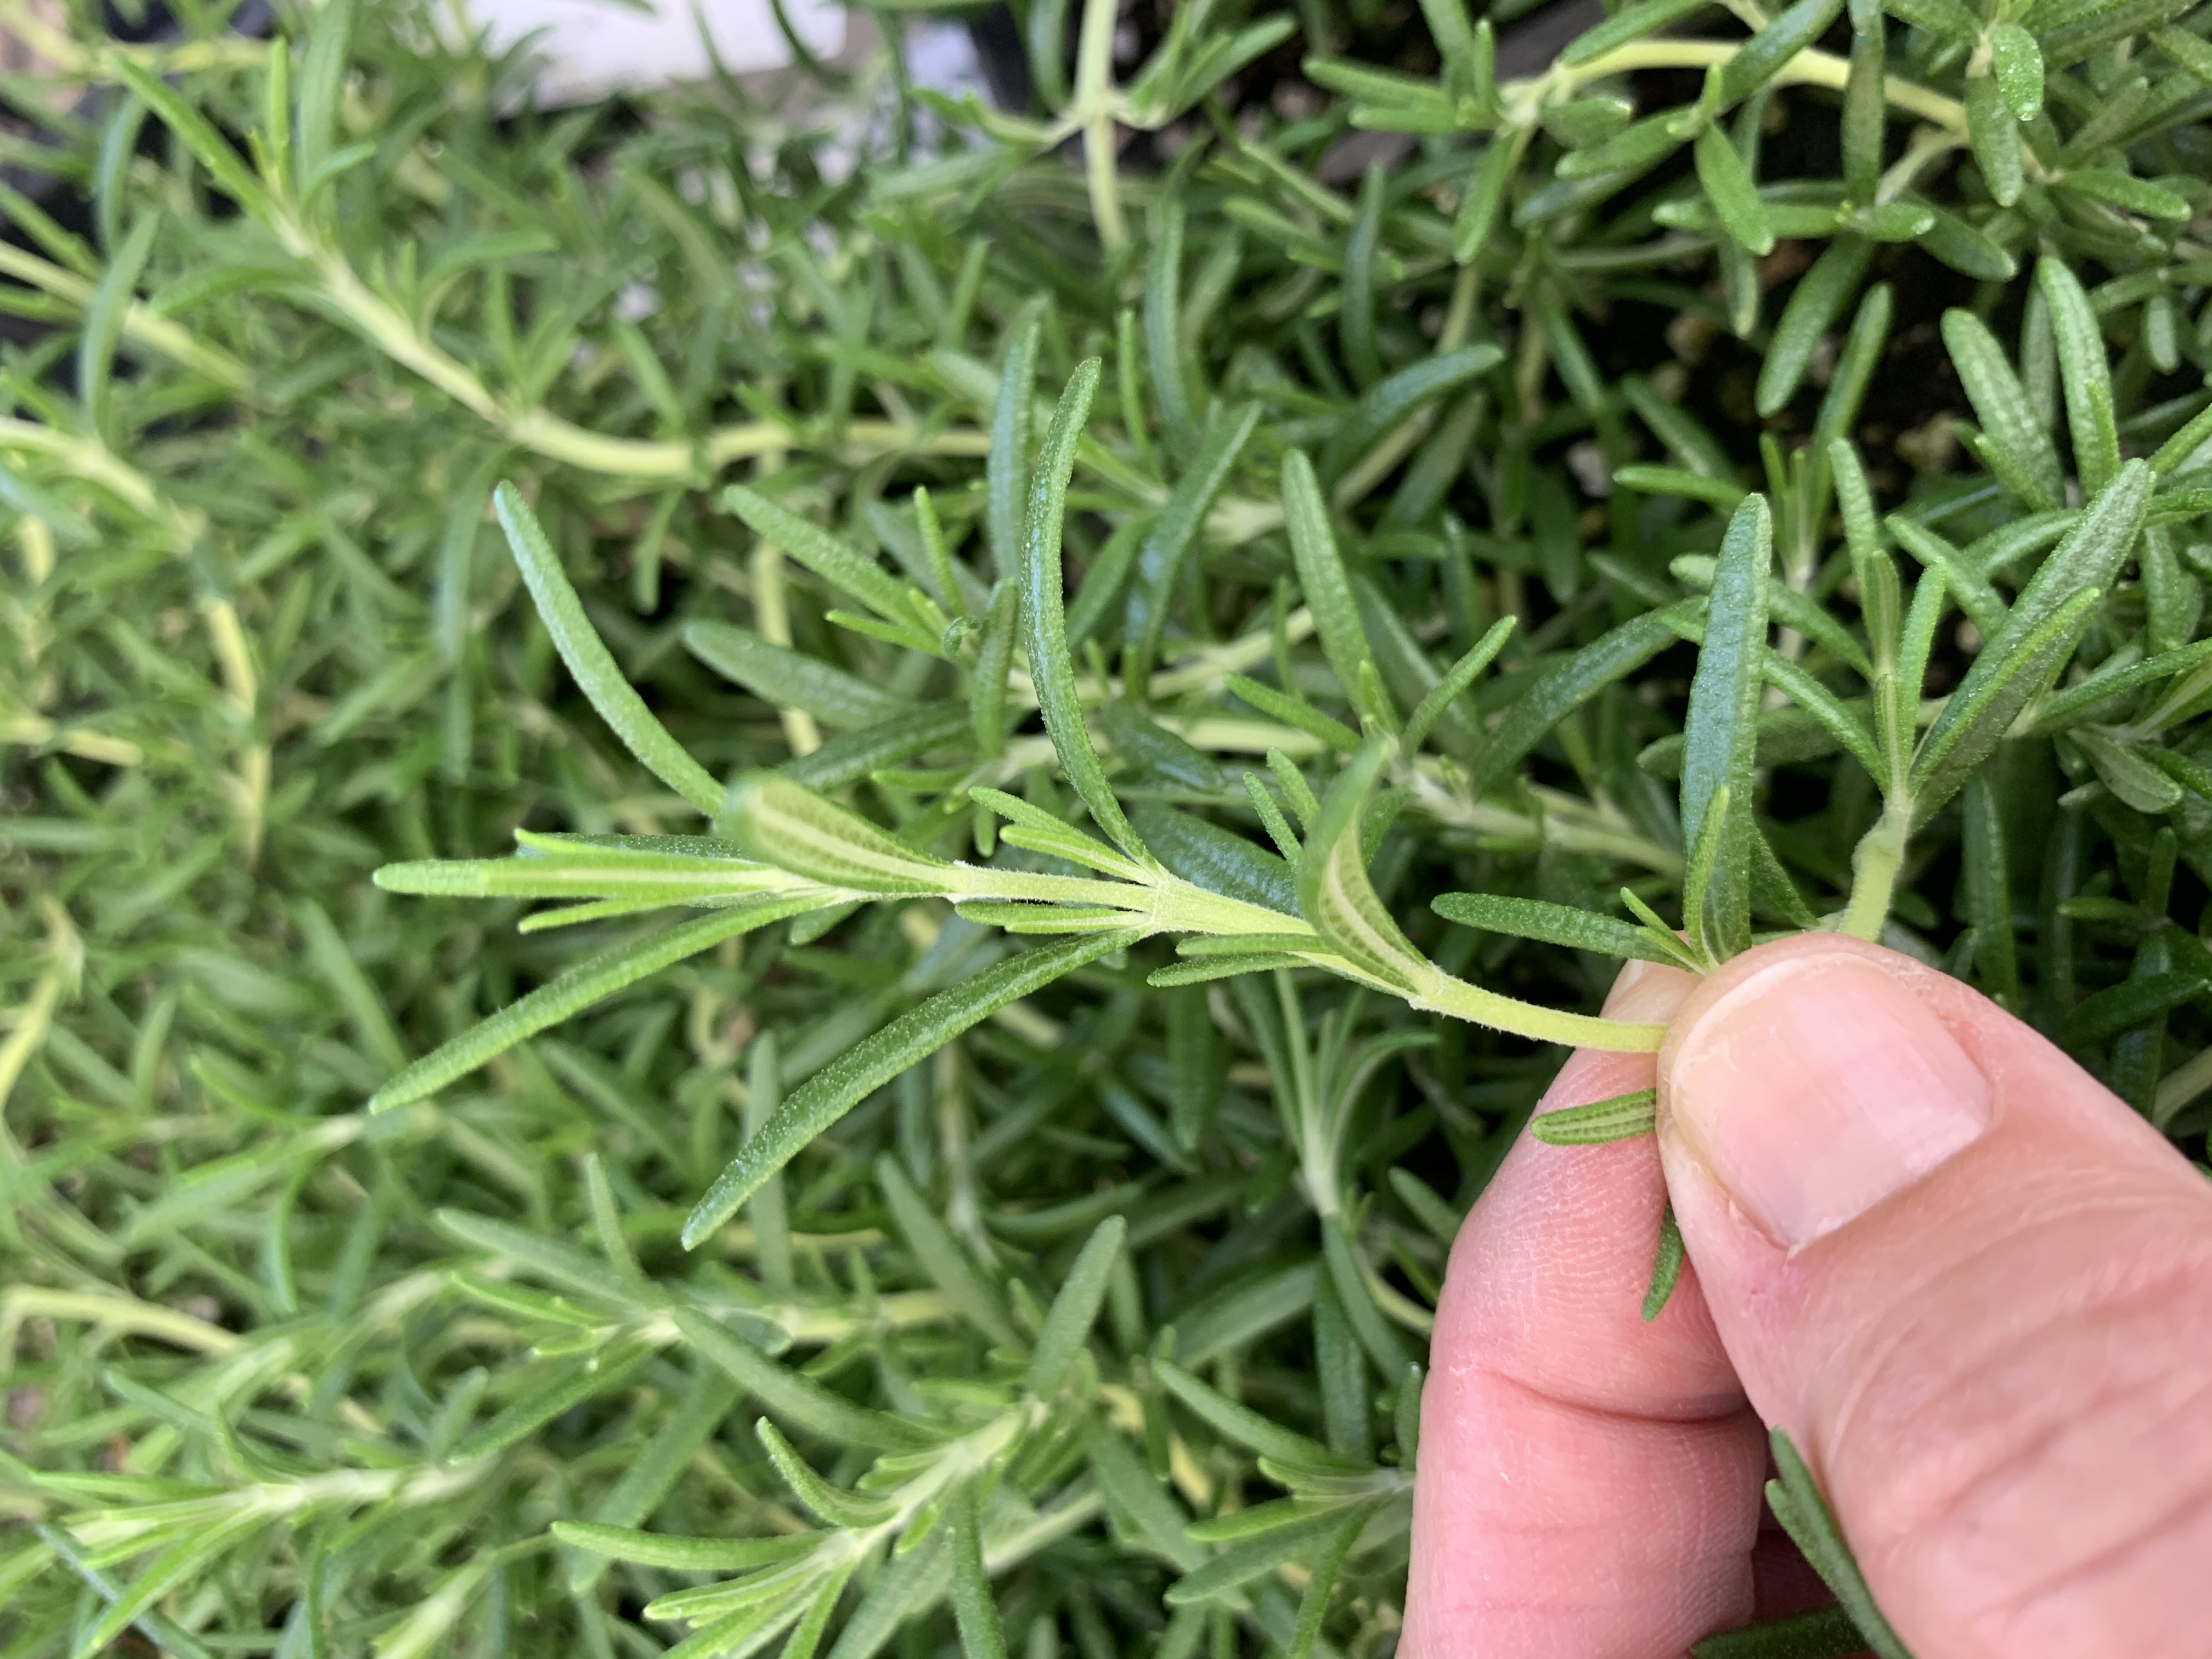
Enter Trailing Rosemary Ground Cover!
Photo-bombed by a nosey and curious dog …
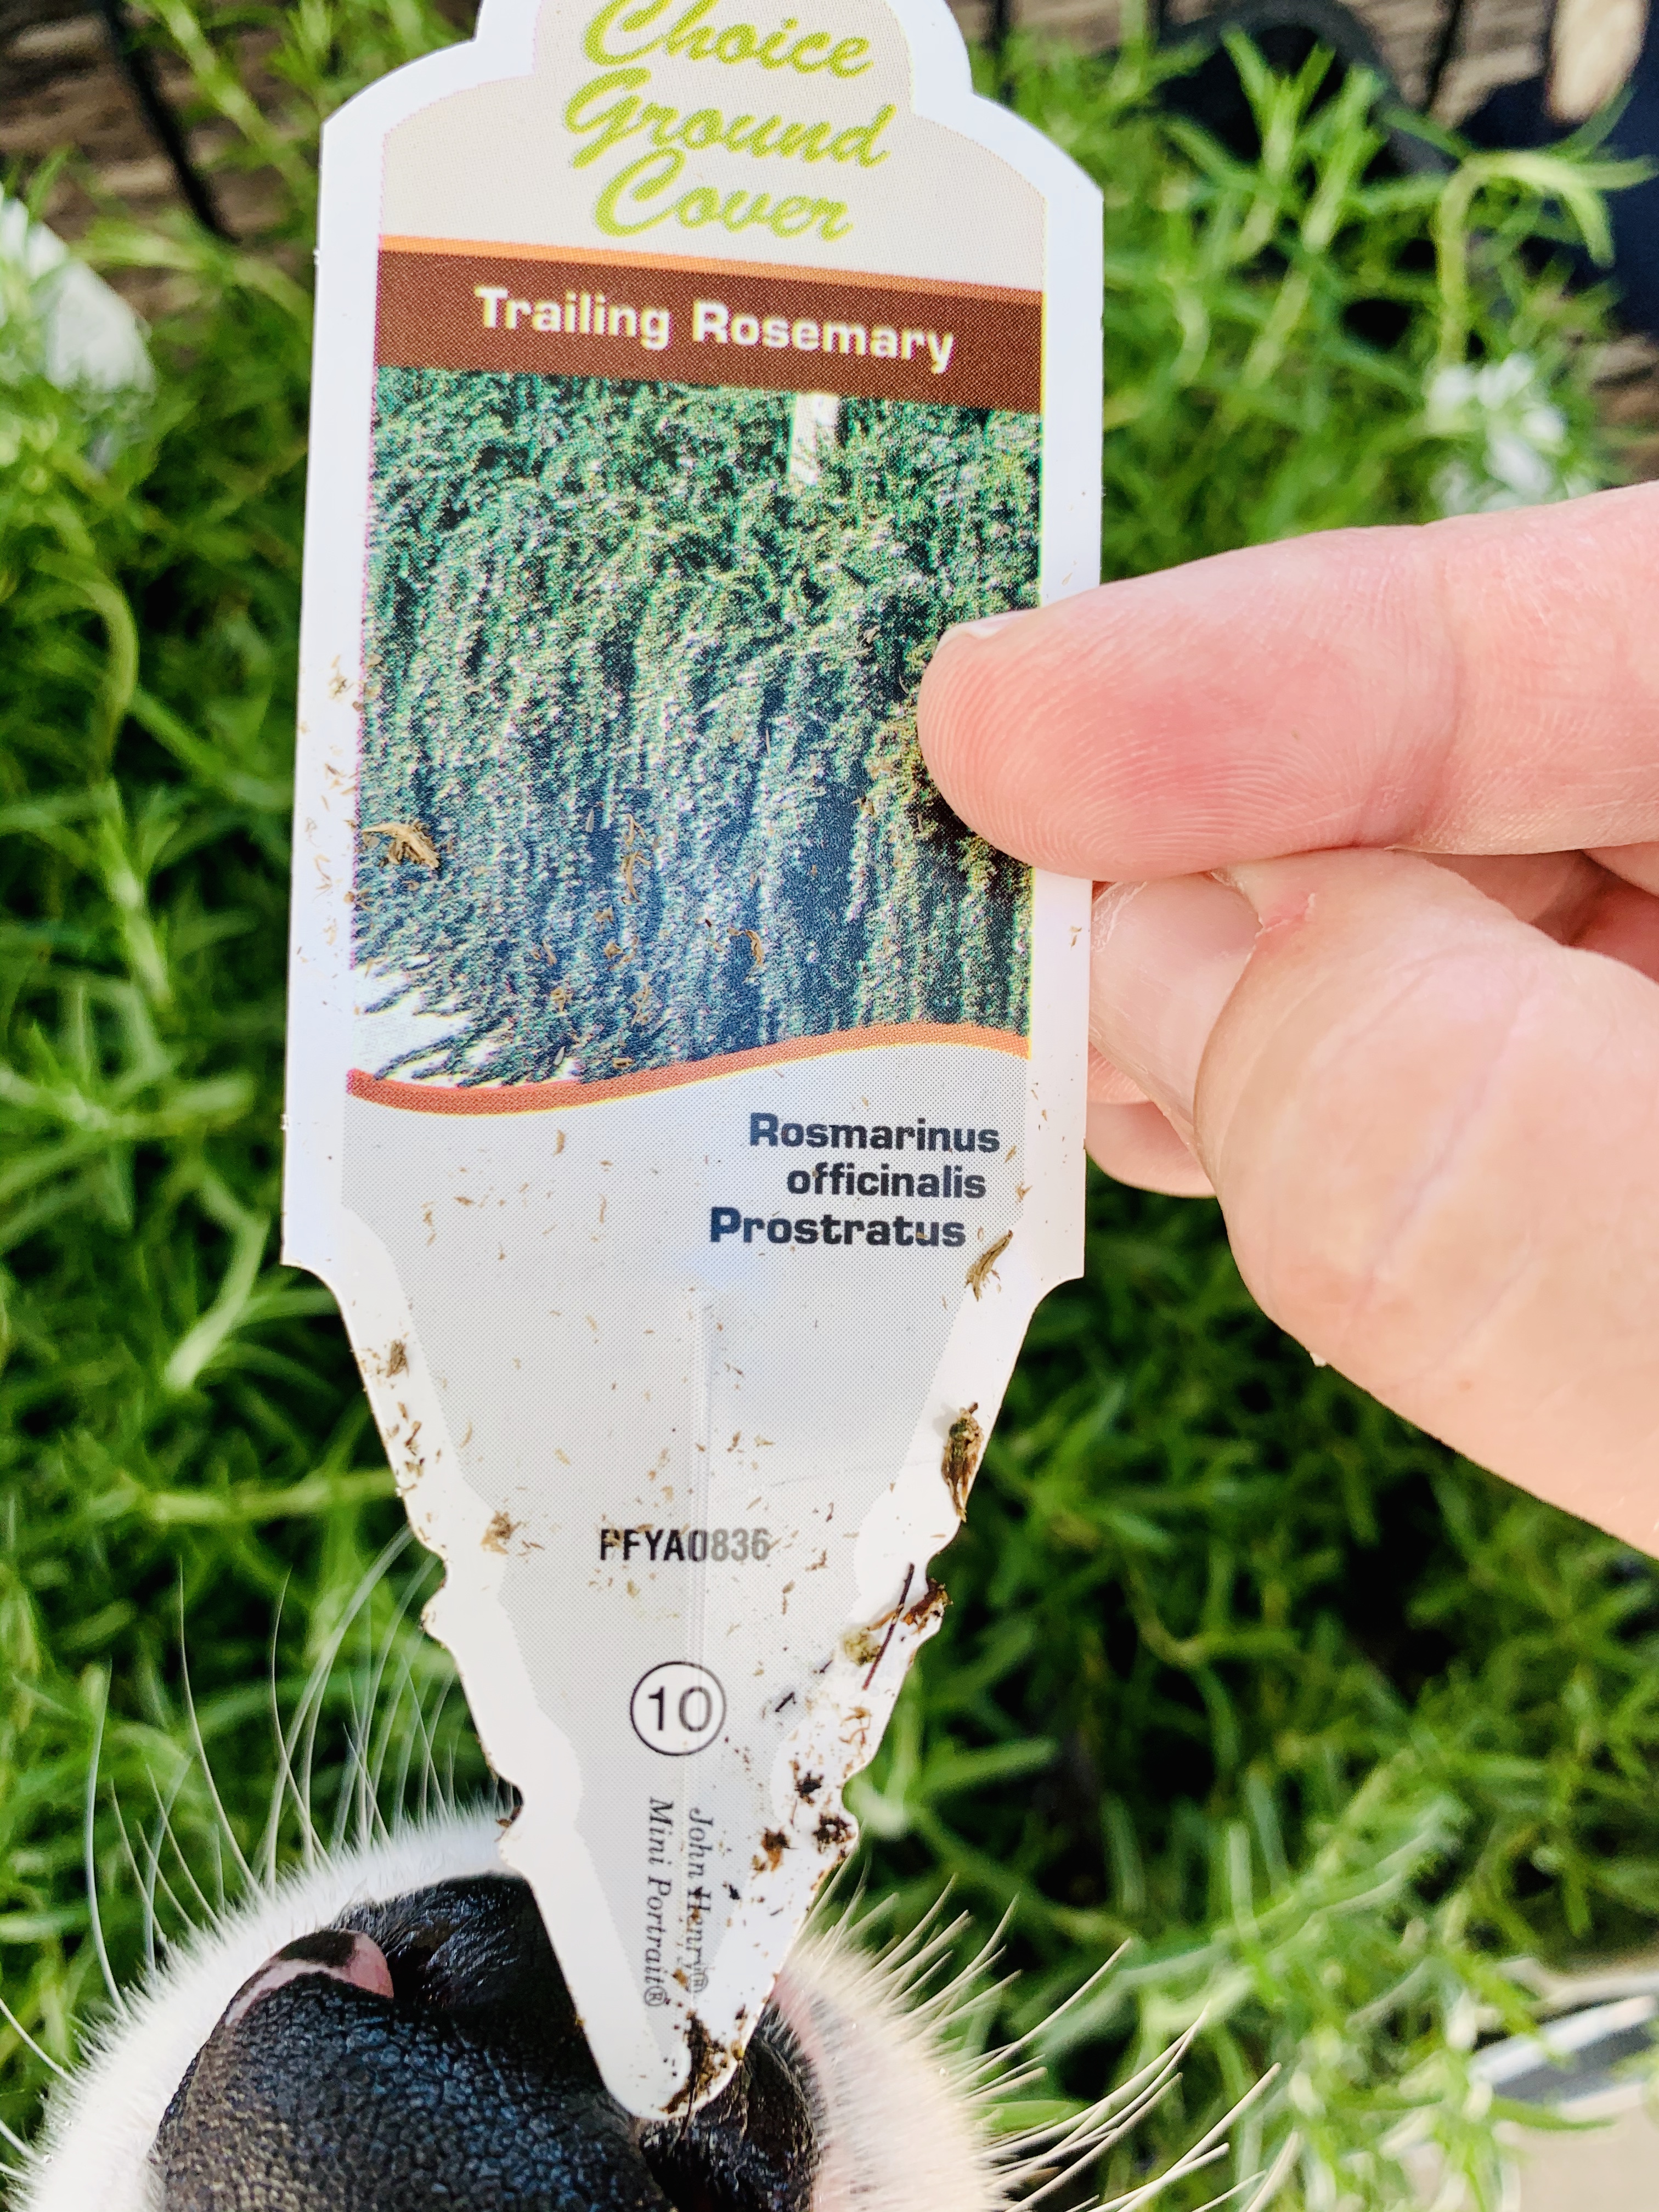
Speaking of dog noses….This is my dog, Neptune. I love his nose.

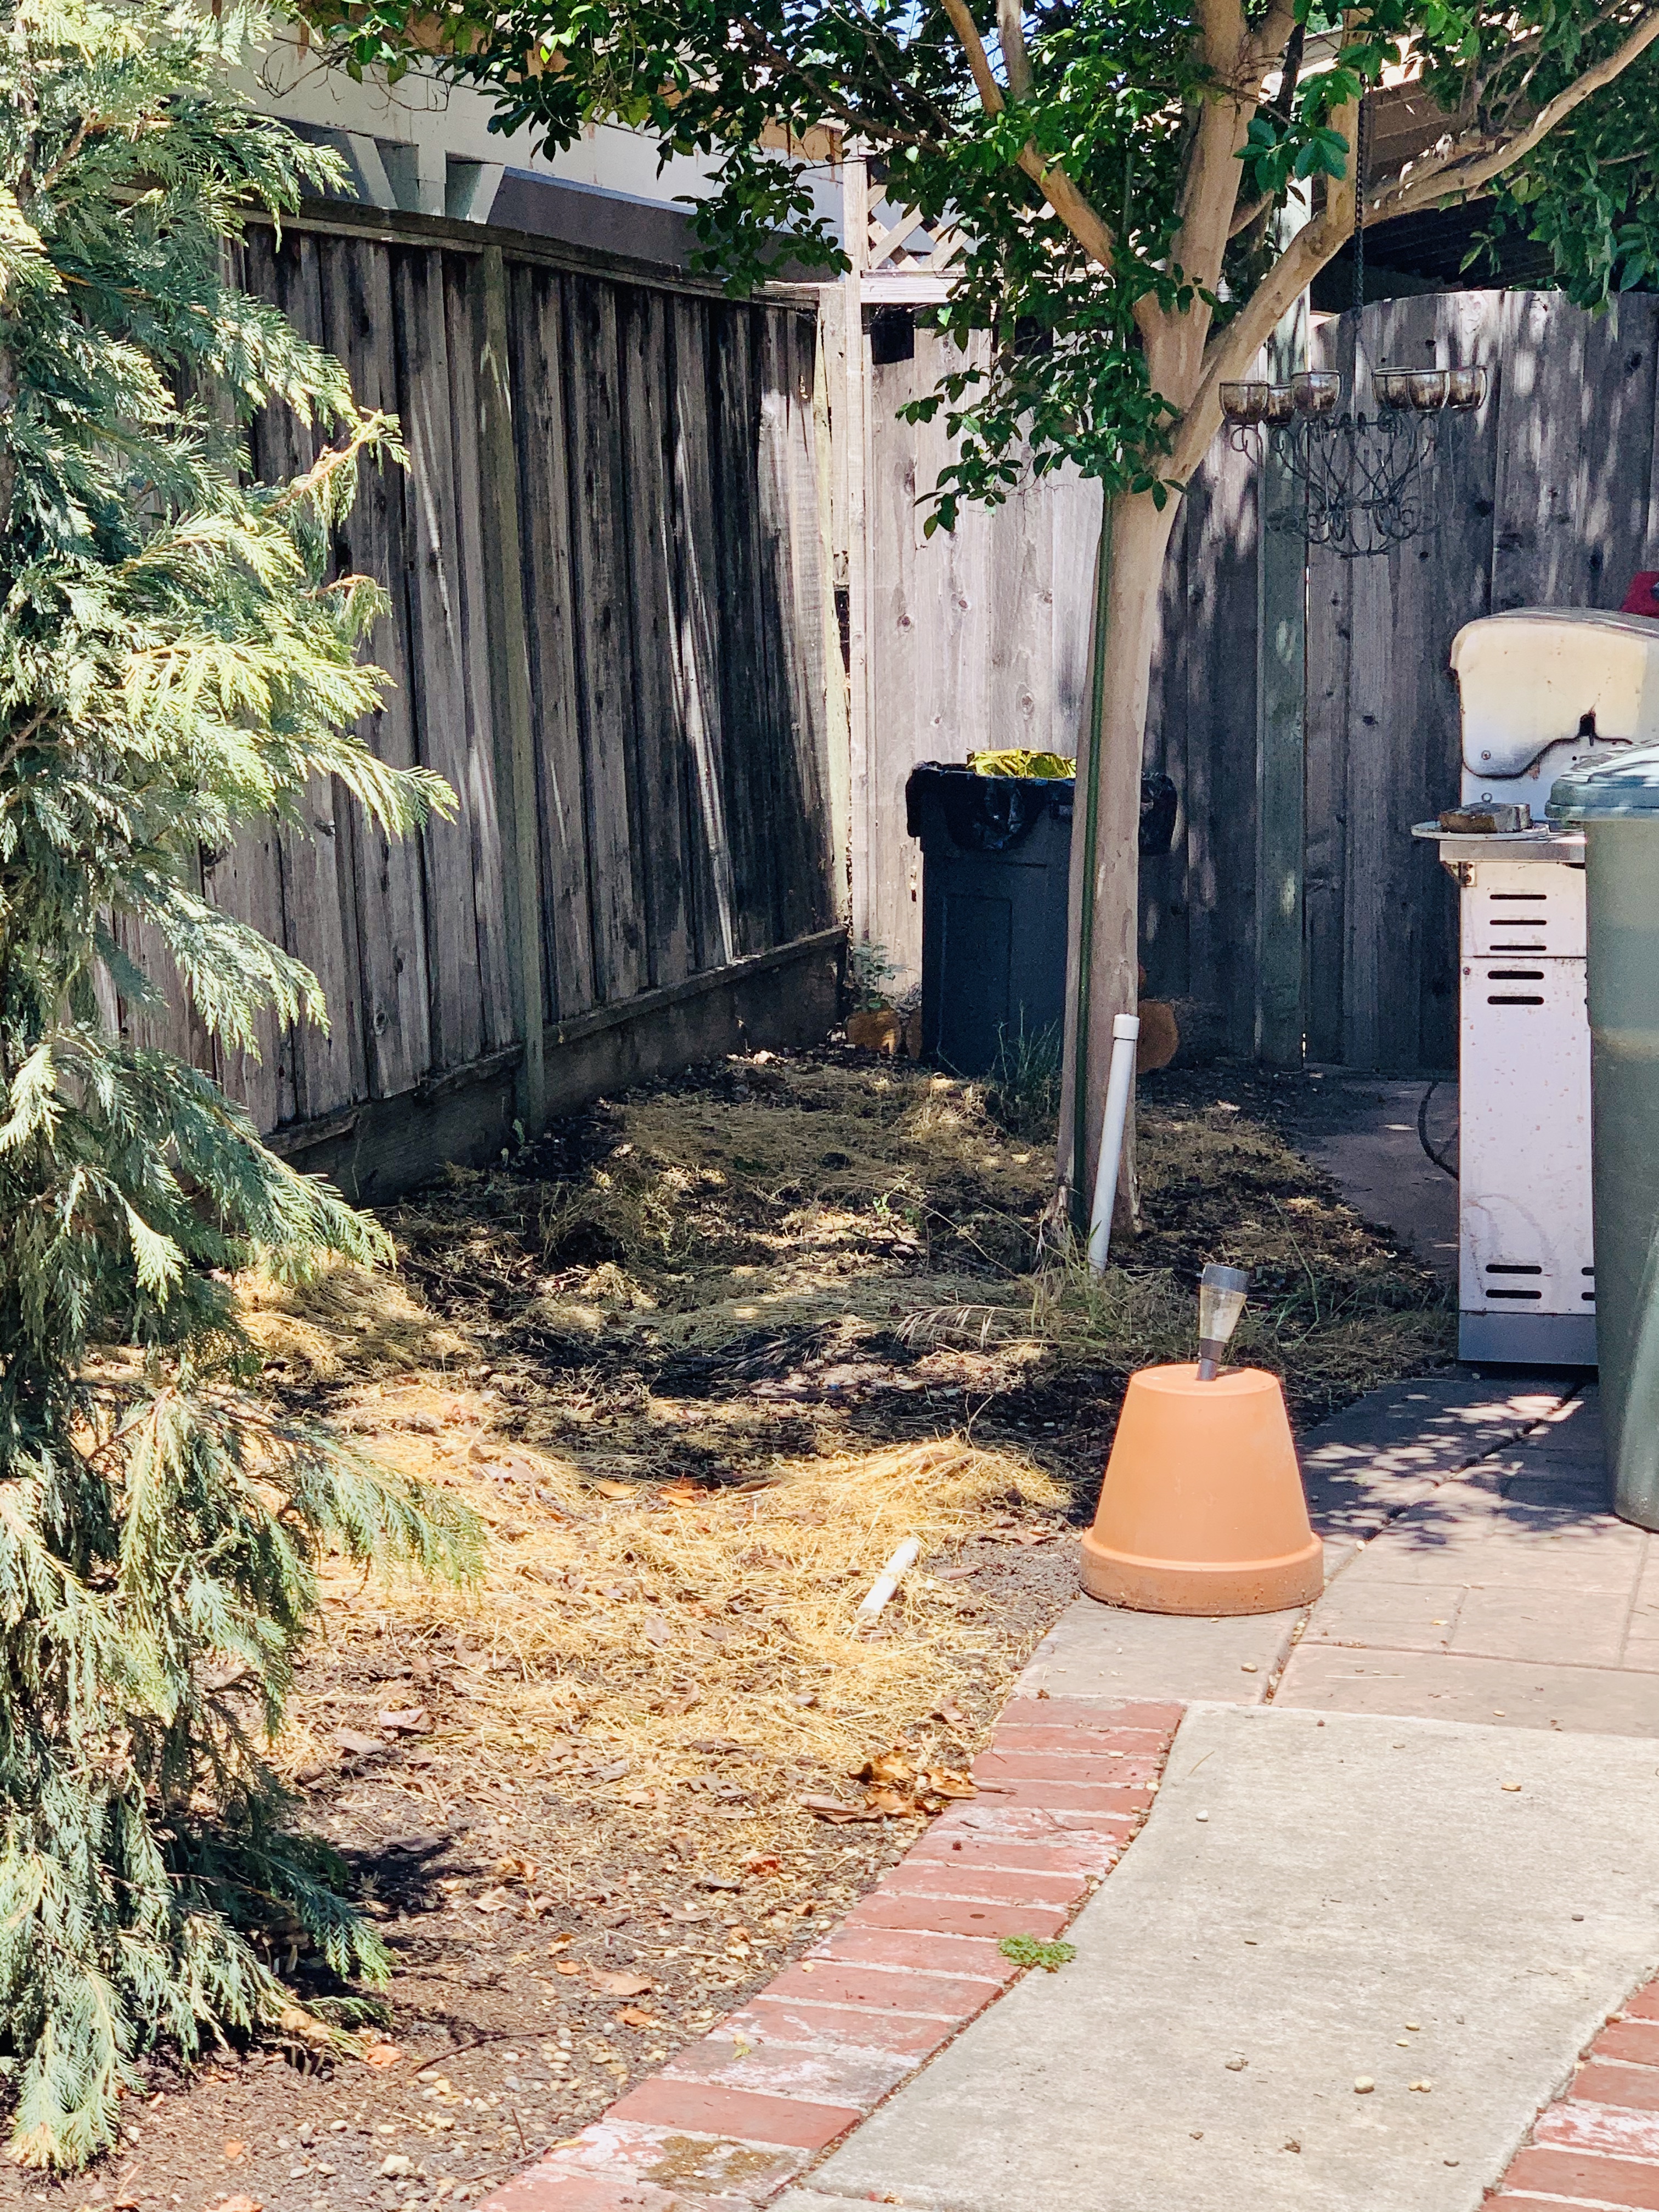
Preparing the Site
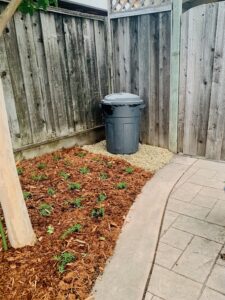
Back on track. In the pic below, I’ve cleared the weeds and begun turning the soil in preparation to add new soil. Note how dry and unloved this area looks! After I turned the soil, I added 2 bags of new soil, 2 cubic feet, each. I graded the corner in preparation for gravel and added a trashcan resting spot.
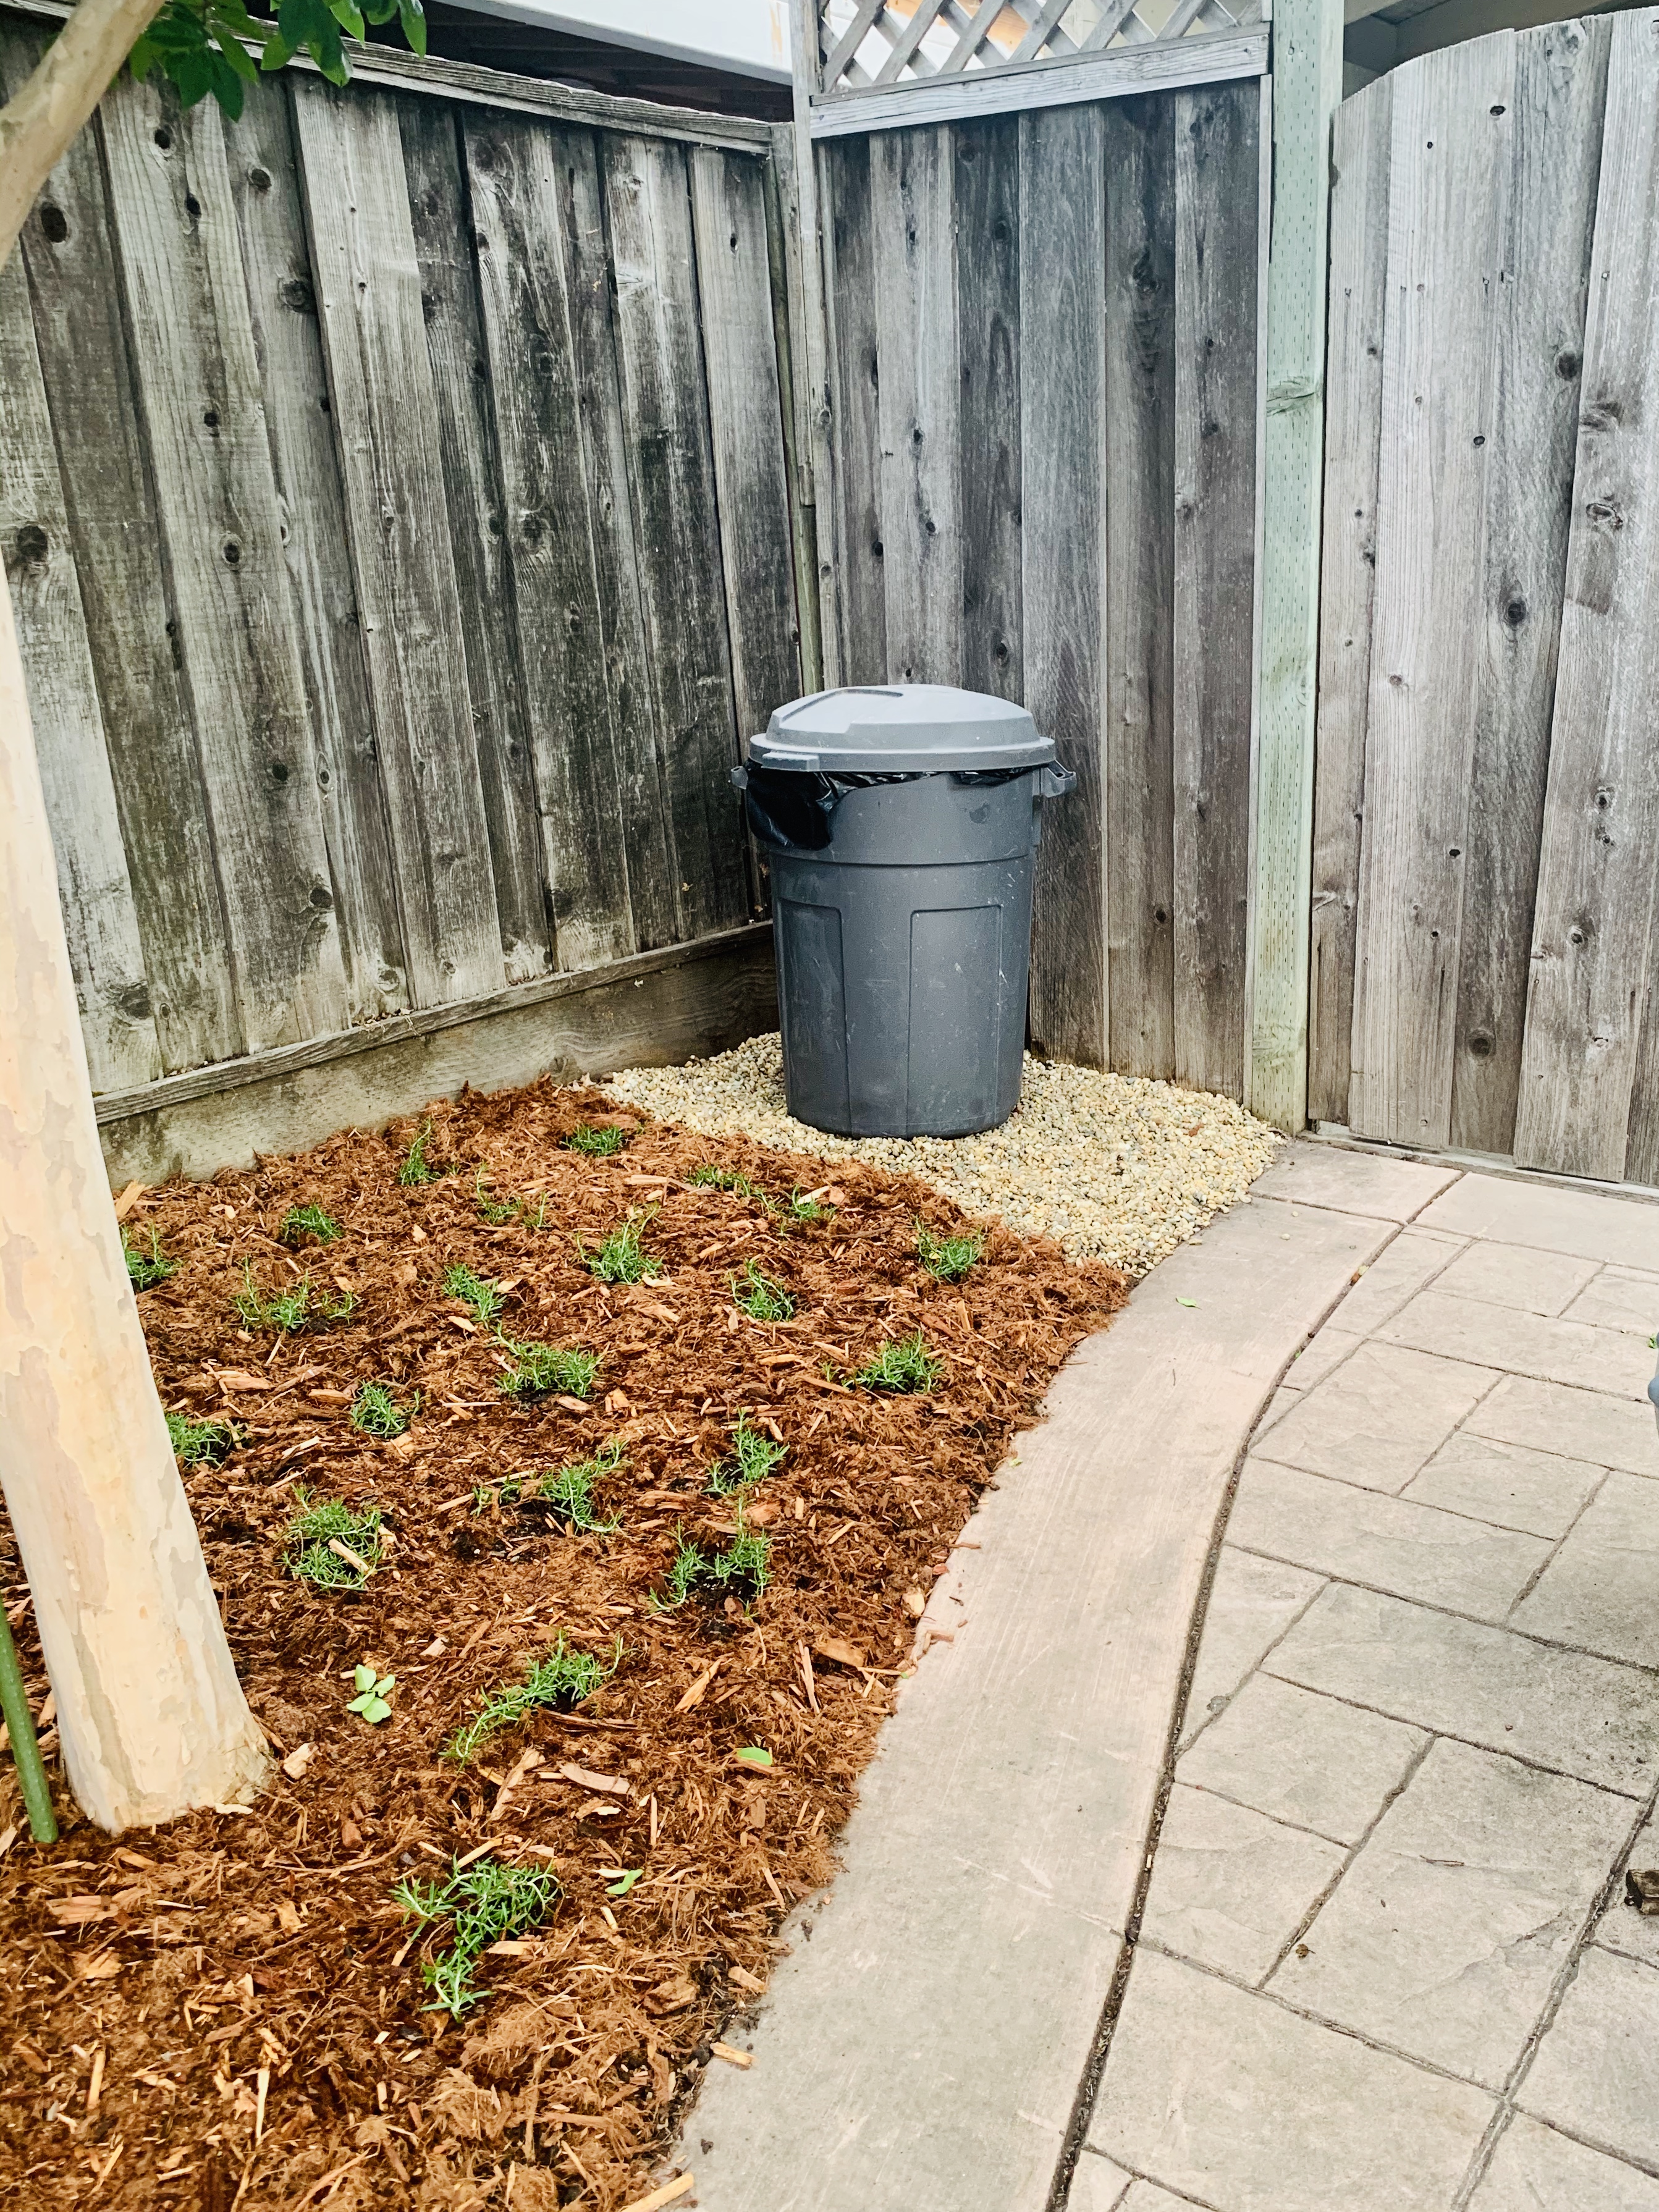
So What About the Trashcan?
I haven’t always been keen to keep a trashcan on my patio. But over the years, we’ve found it handy, even when we aren’t entertaining. I decided to forget my instinct to hide it away, somewhere inconspicuous-like. It’s okay if it’s not a pretty Disneyland-style trashcan. (Ever notice how Disney absolutely kills when it comes to trashcans in their parks, all clean, decorated and themed according to location?? I really dig that!) Plus I always appreciate knowing where trash goes when I’m visiting someone else’s home or business. So I’m giving my own backyard trashcan a tidy corner, easily accessible, easily maintained, with a gravel base to rest upon.

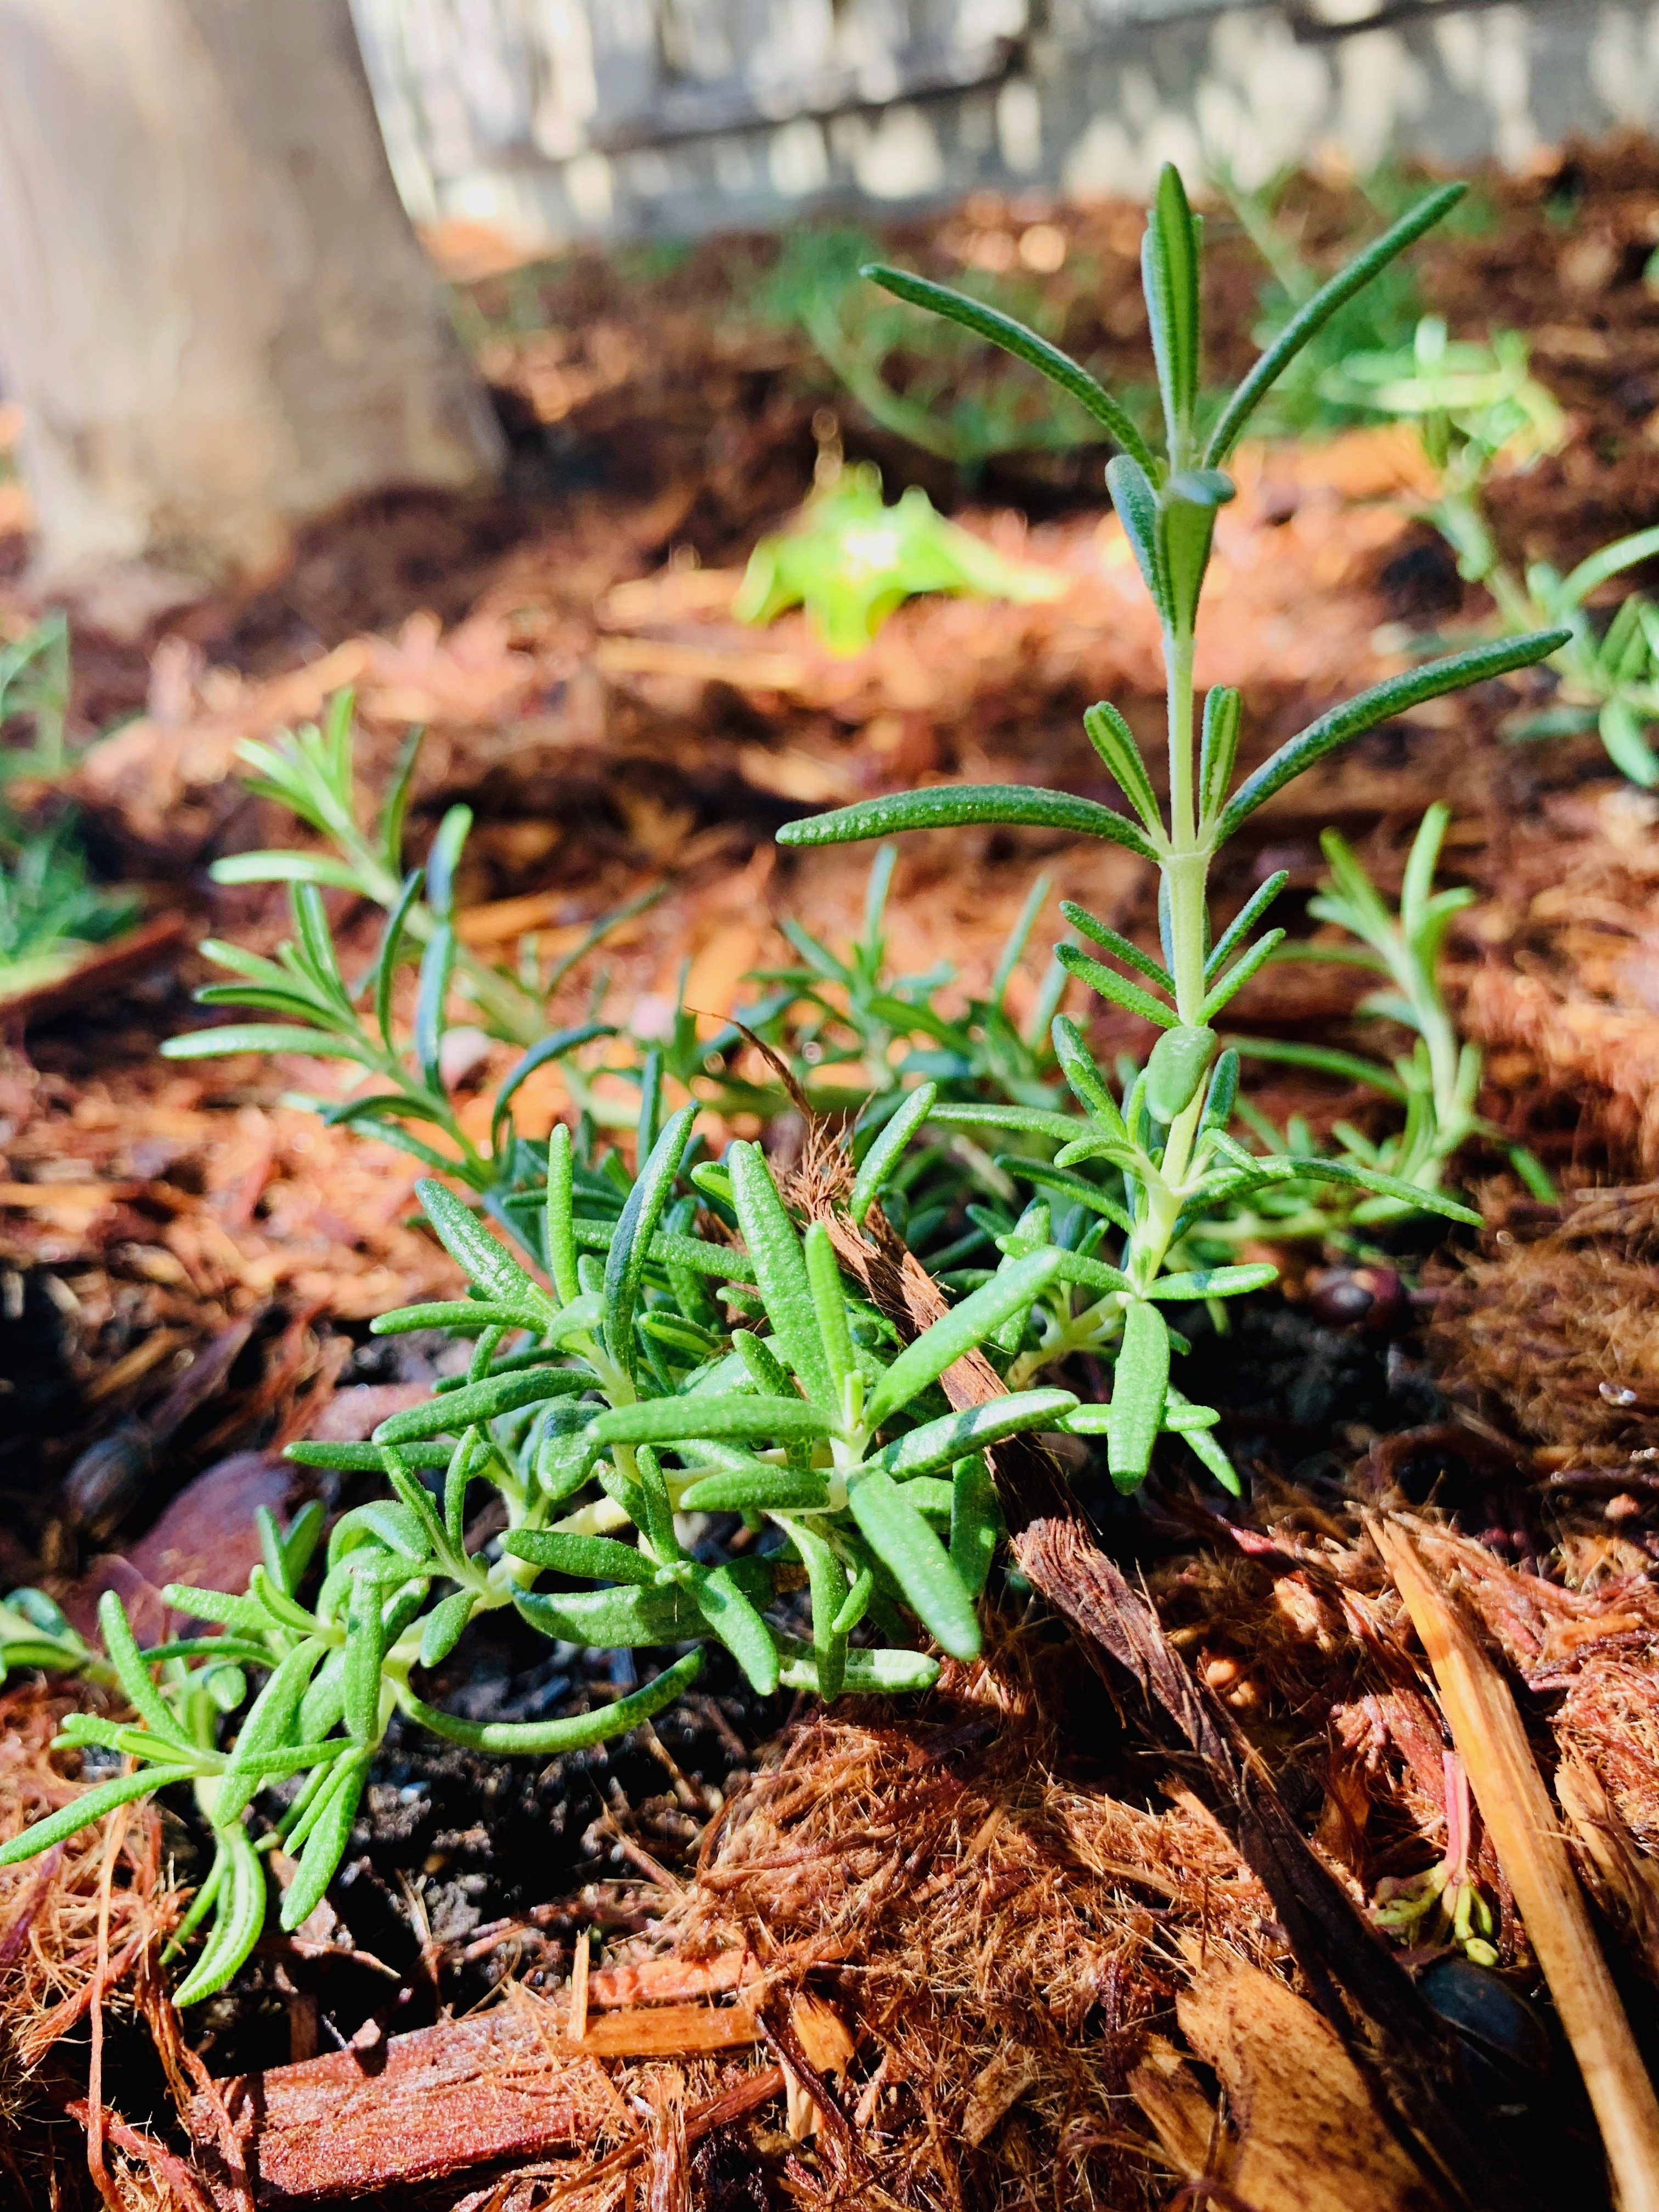
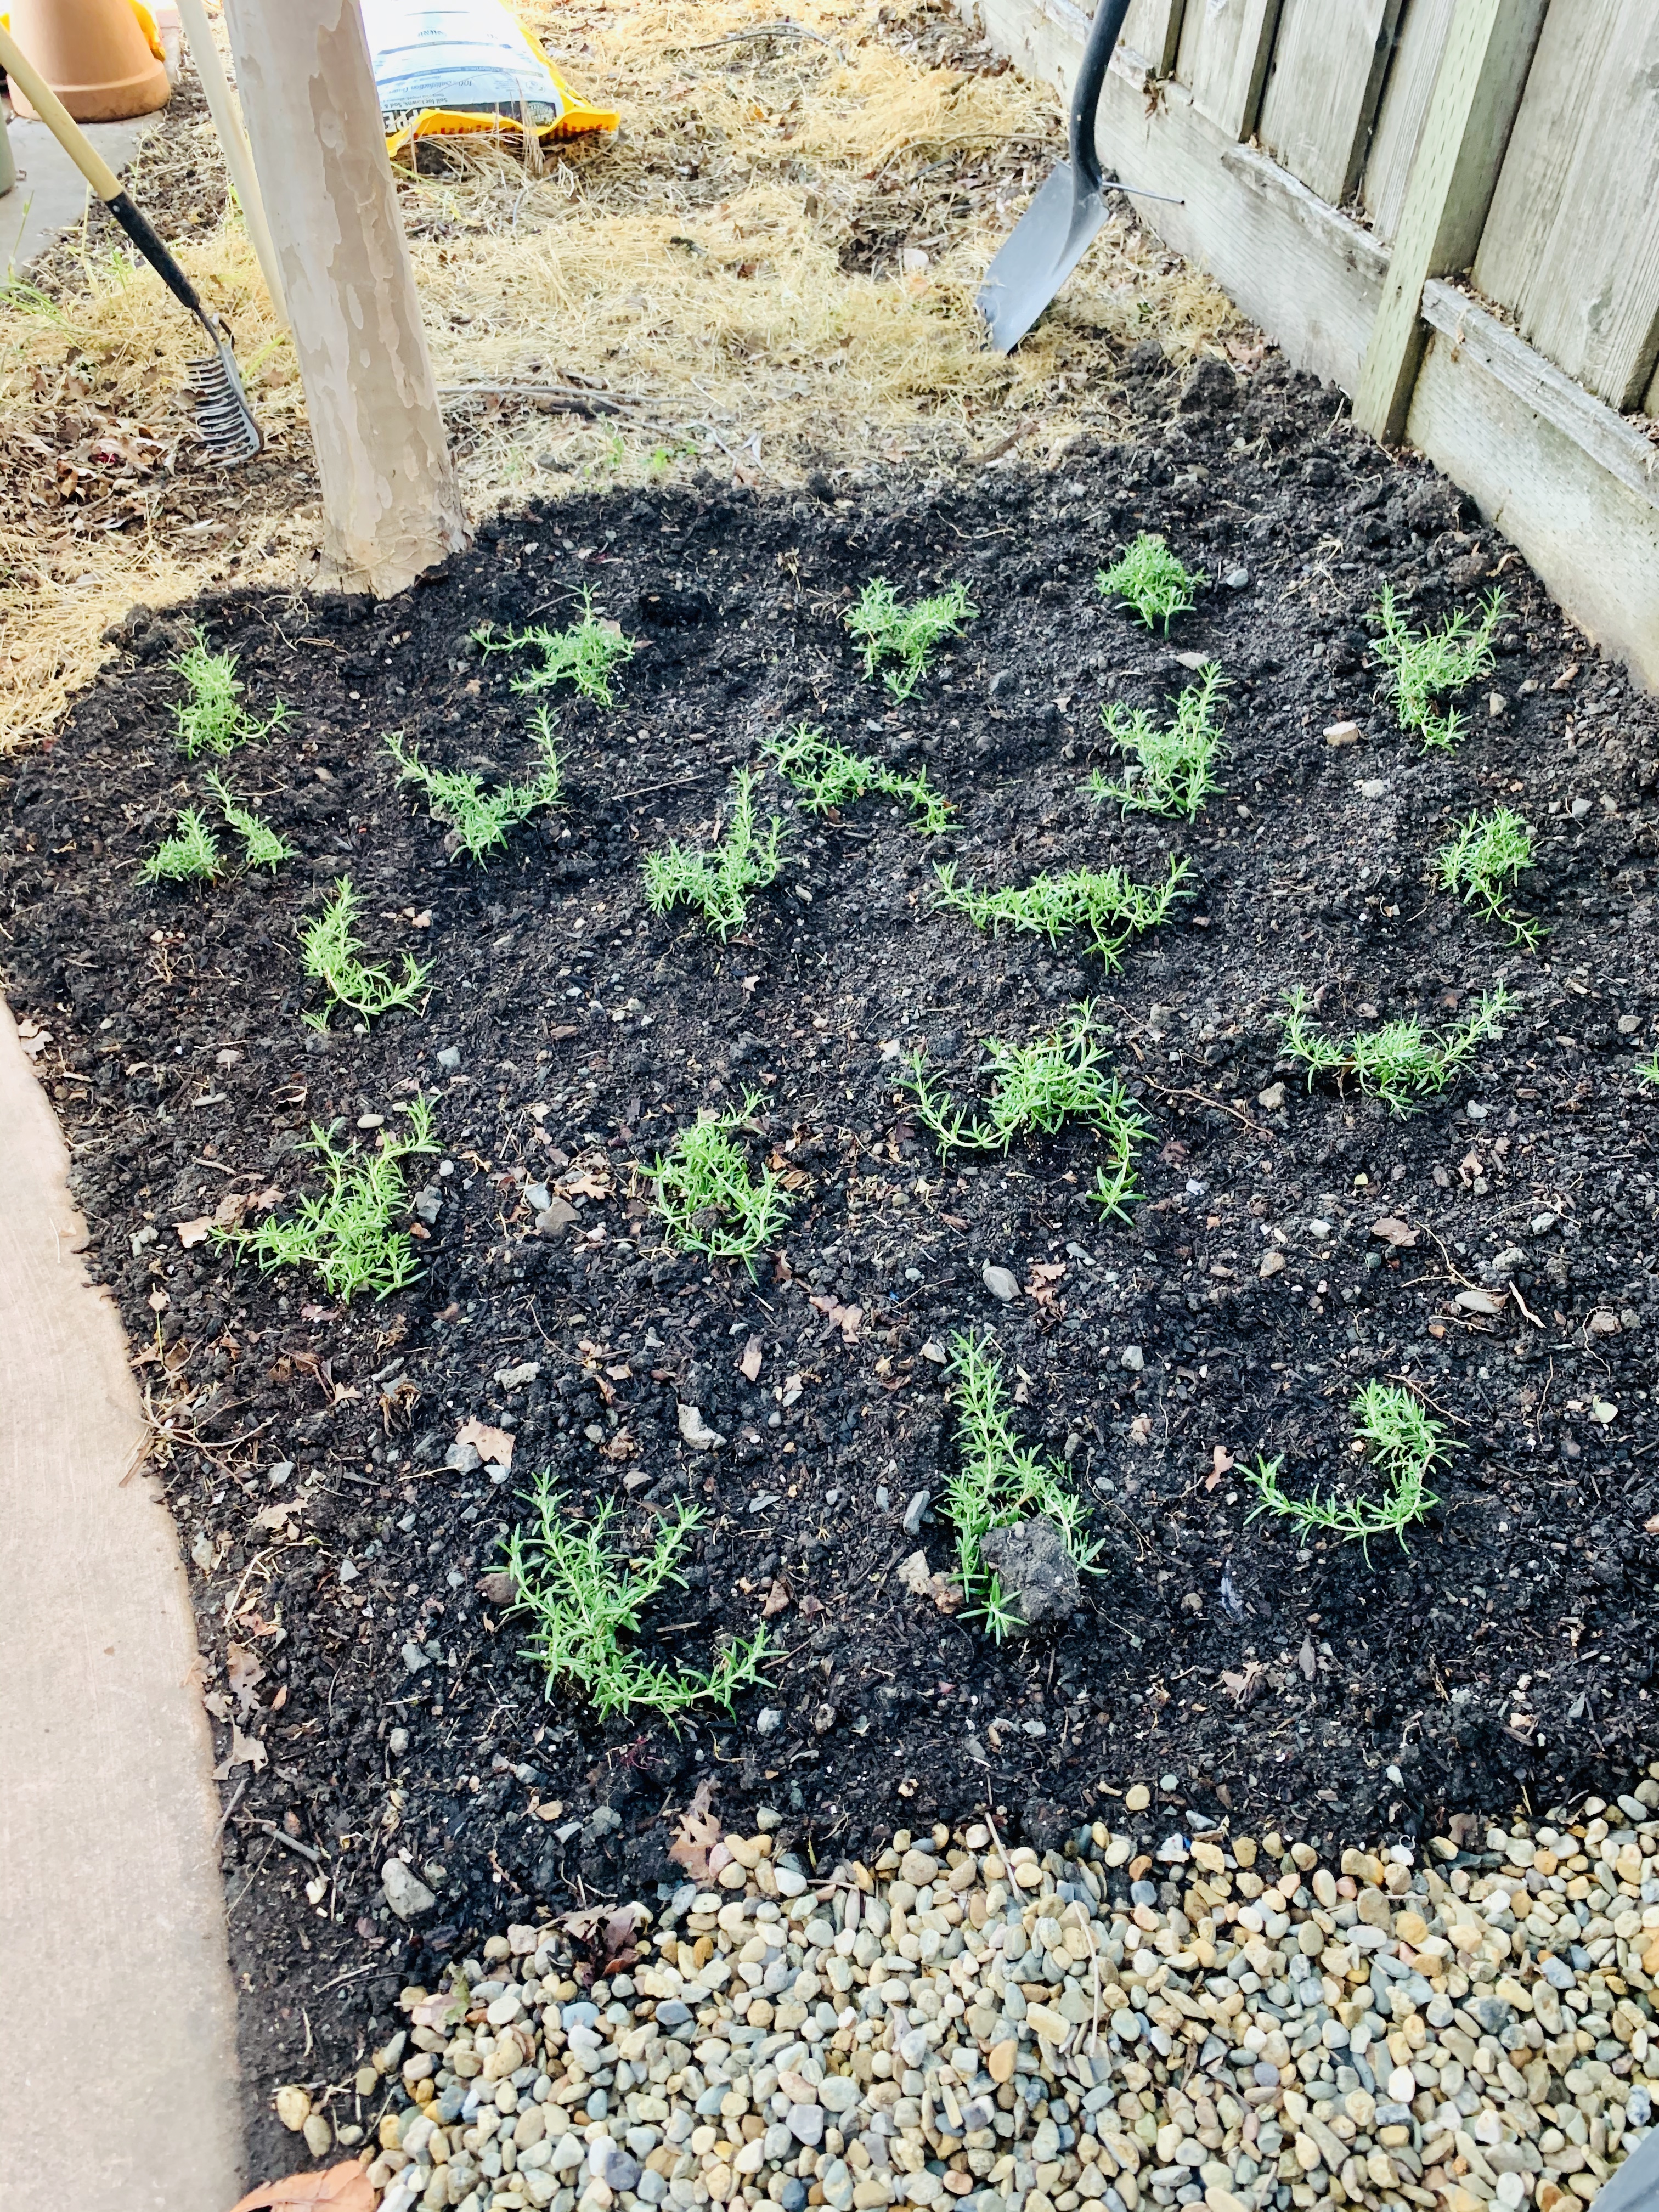
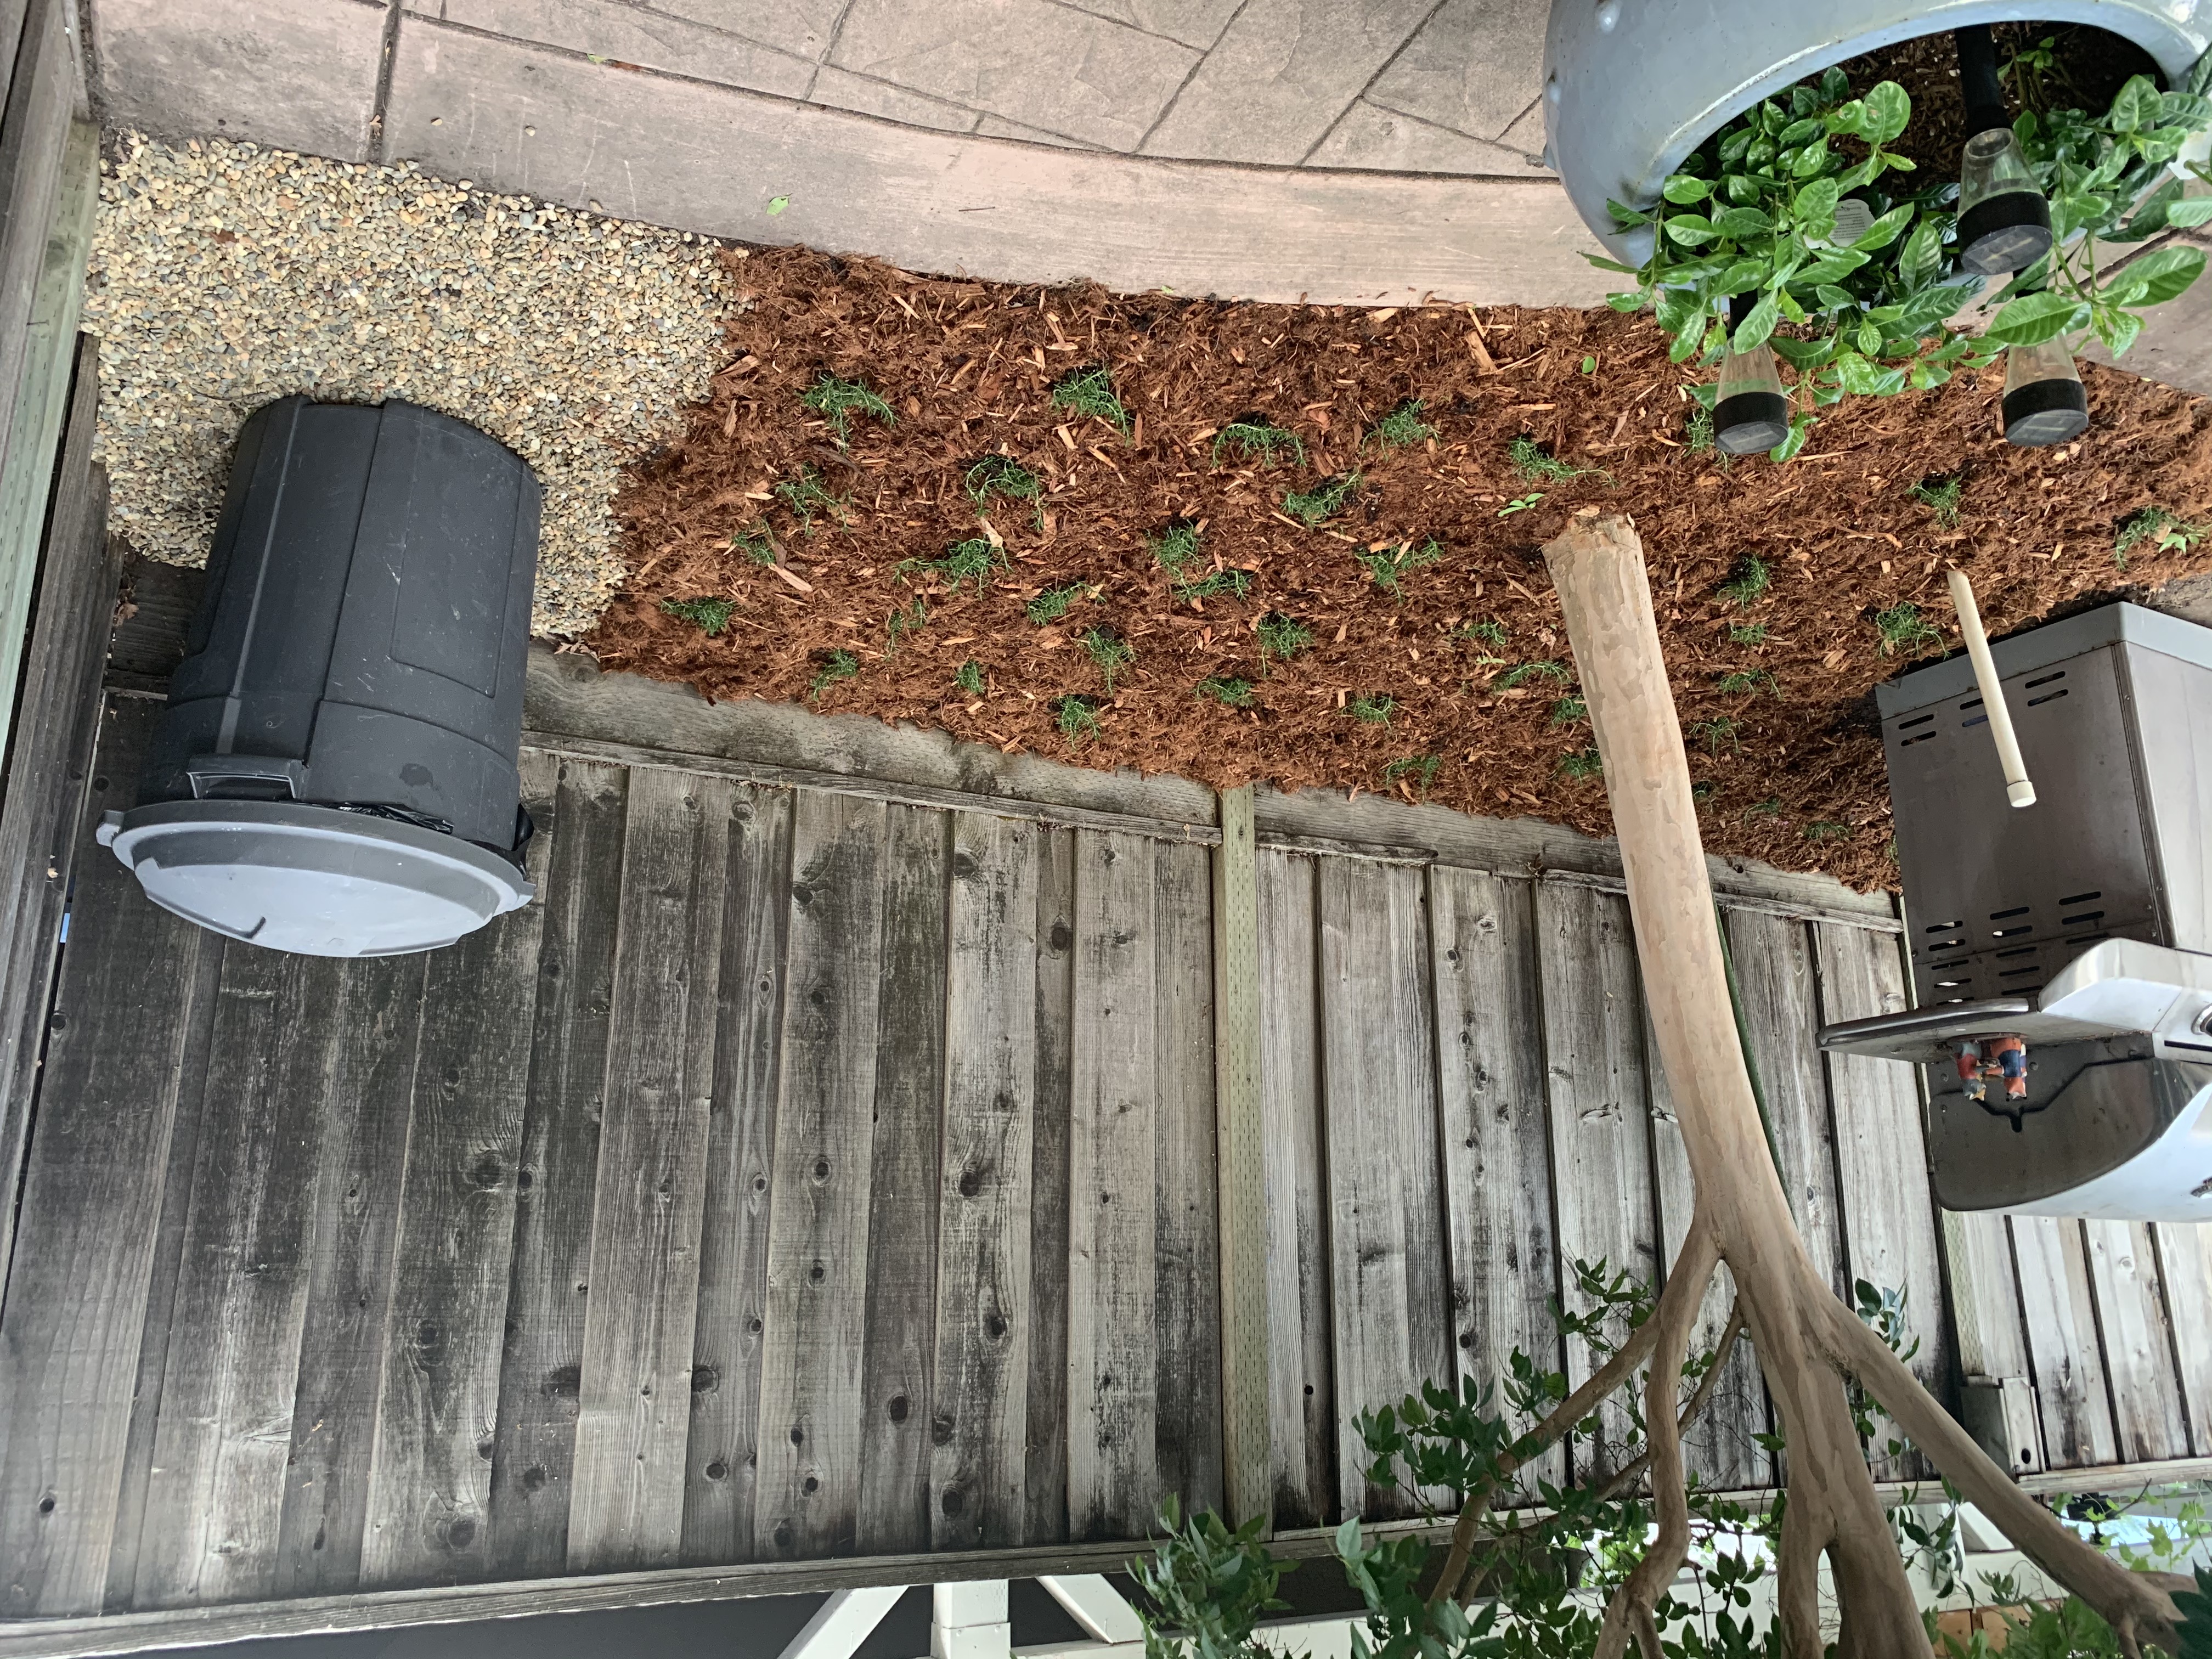
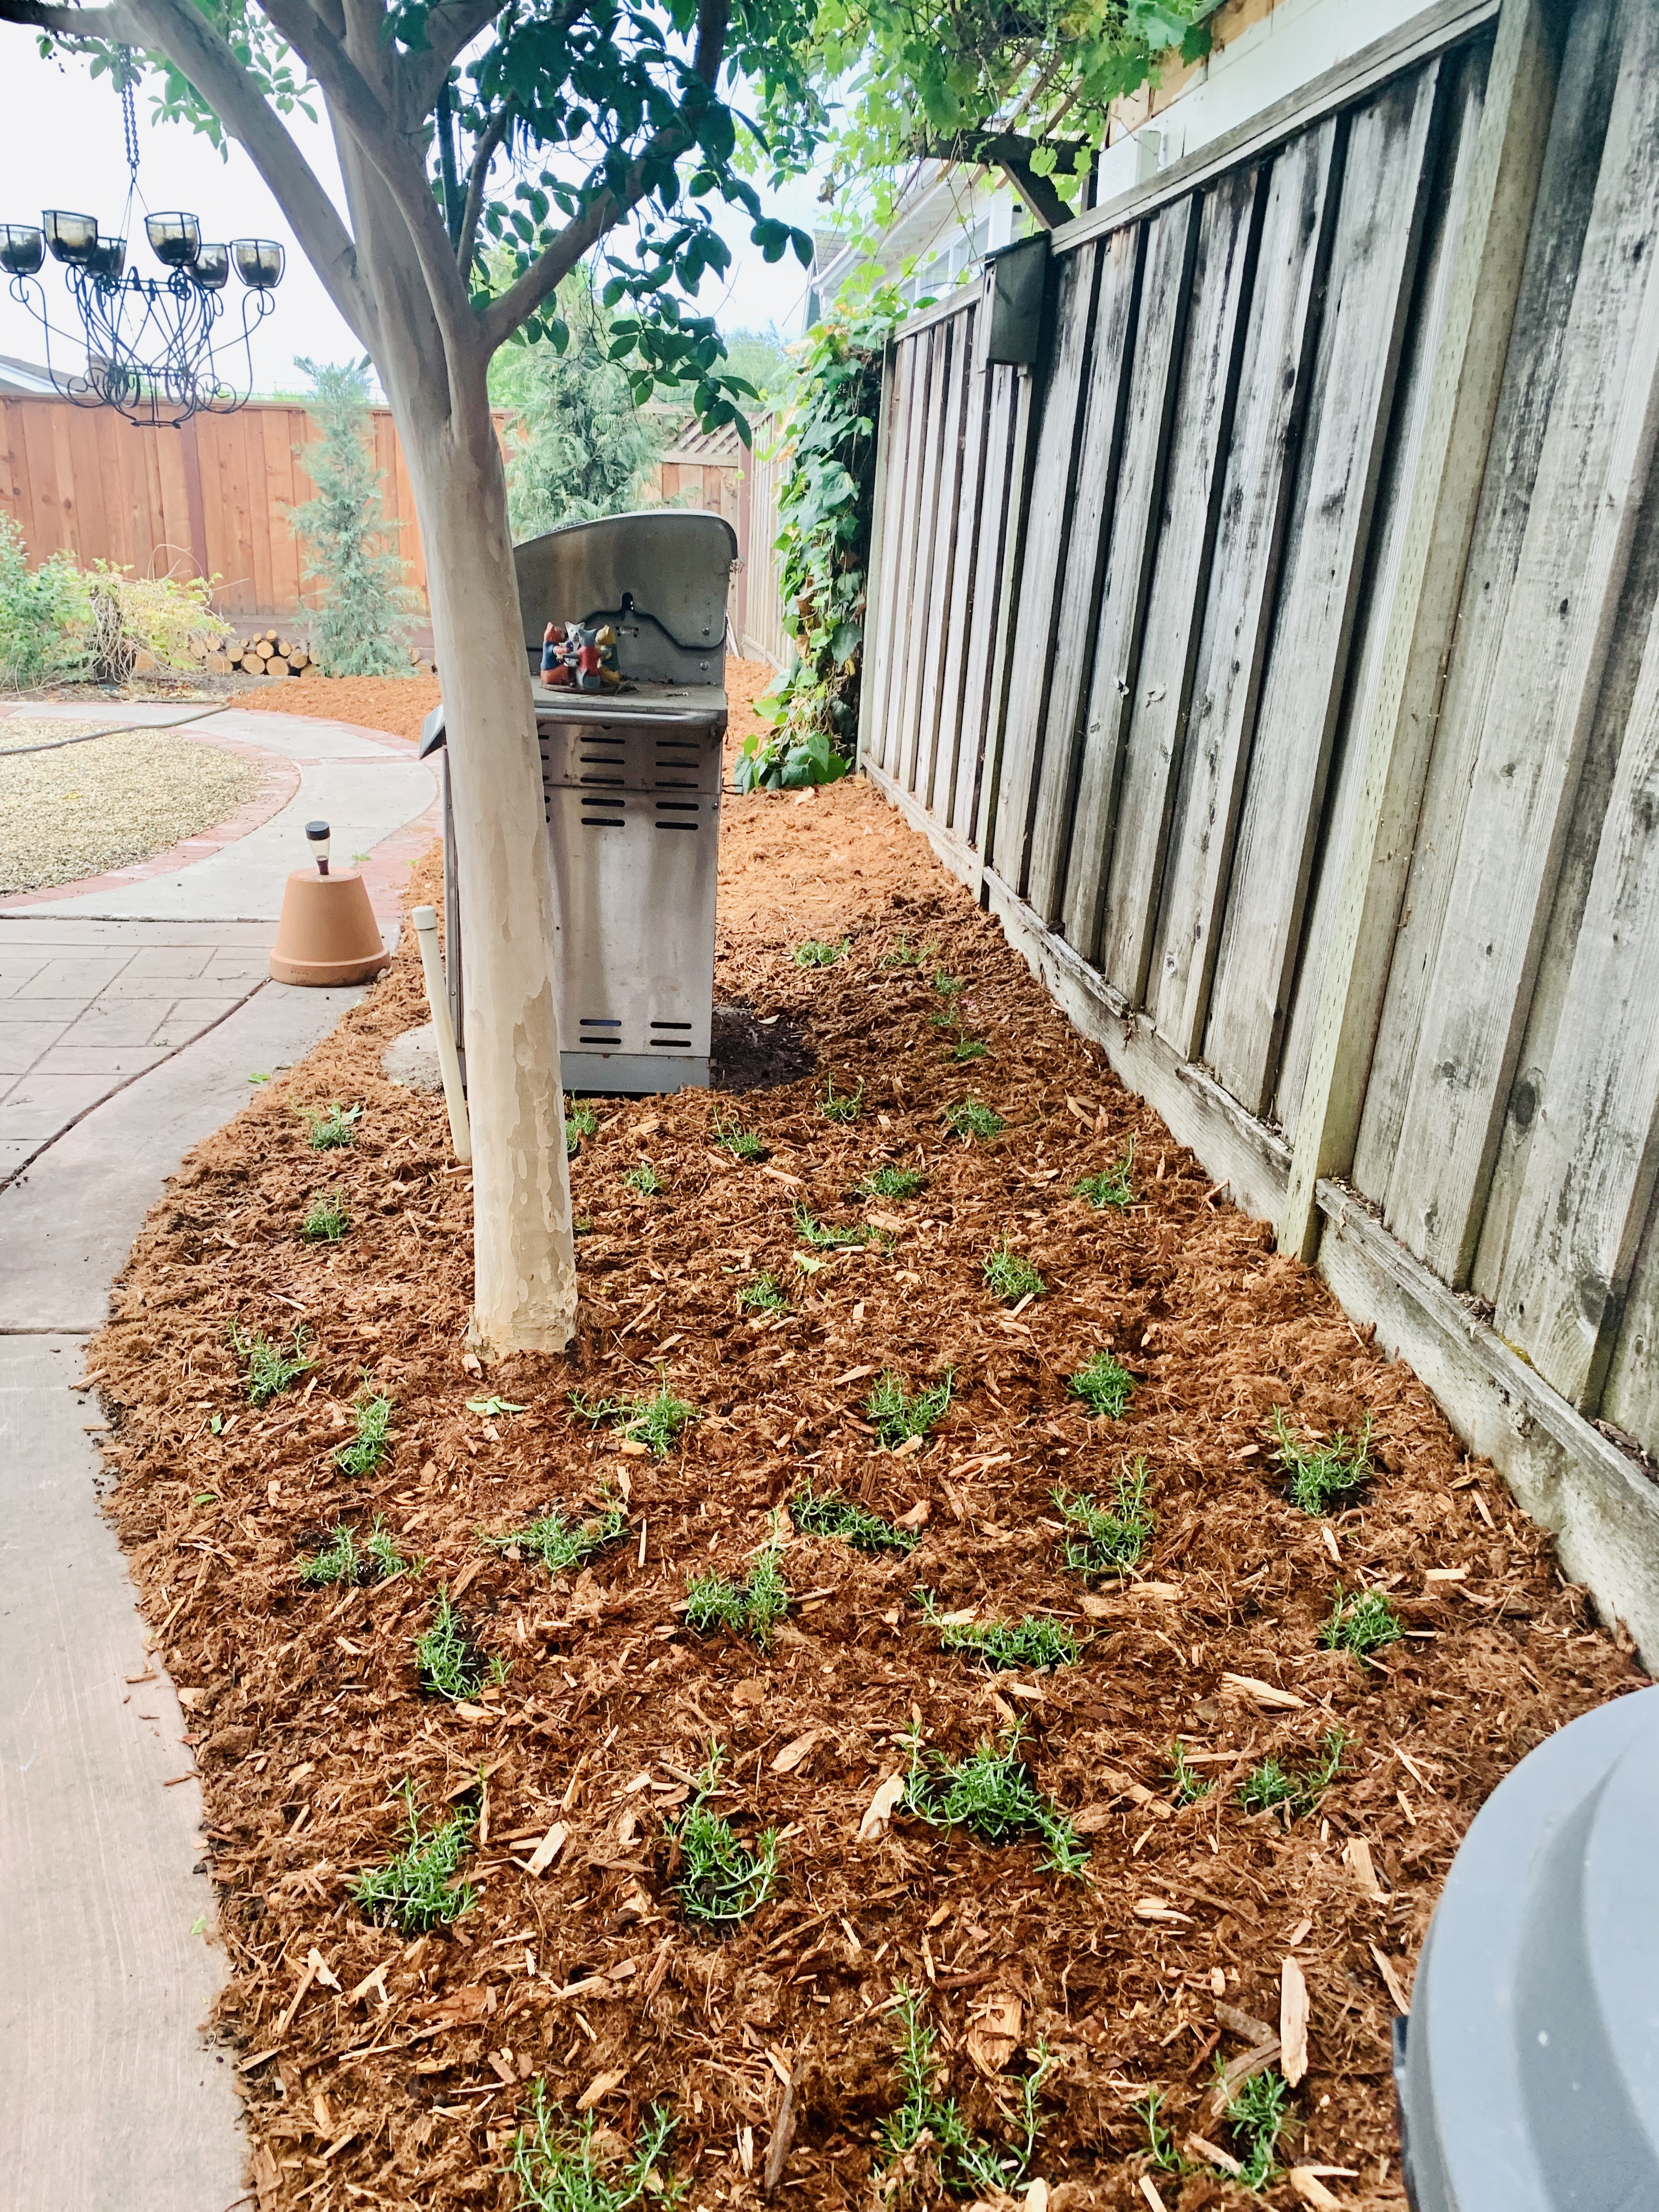
The First Rosemary Babies are Planted
Making progress pics… Here are the first 22 babies placed in their new home. I bought 7, 6-packs of Trailing Rosemary Ground cover for this project, which was a total of 42 plants. Because Trailing Rosemary Ground cover is a fast grower, I probably could have purchased half as much. But after waiting 5 years to clean this corner up, I was impatient for a lot of coverage in a short time. This is going to fill in nicely, hopefully within a year.
Gorilla What Now?
Have you ever heard of Gorilla Hair Redwood Mulch? Allow me to introduce you! It’s shredded redwood bark that smells amazing, keeps the soil cool, maintains hydration, and will eventually biodegrade into the soil. I love the way it looks in landscaping, giving projects finished look.
You can buy Gorilla Hair Mulch in bags from Lowe’s (Link Here: https://www.lowes.com/pd/Gardeners-2-cu-ft-Shredded-Redwood-Mulch/3034466 – this is not an affiliate link.) For this project, we had 1 cubic yard delivered from our local landscaping supplier for about the same cost as buying it in bags.
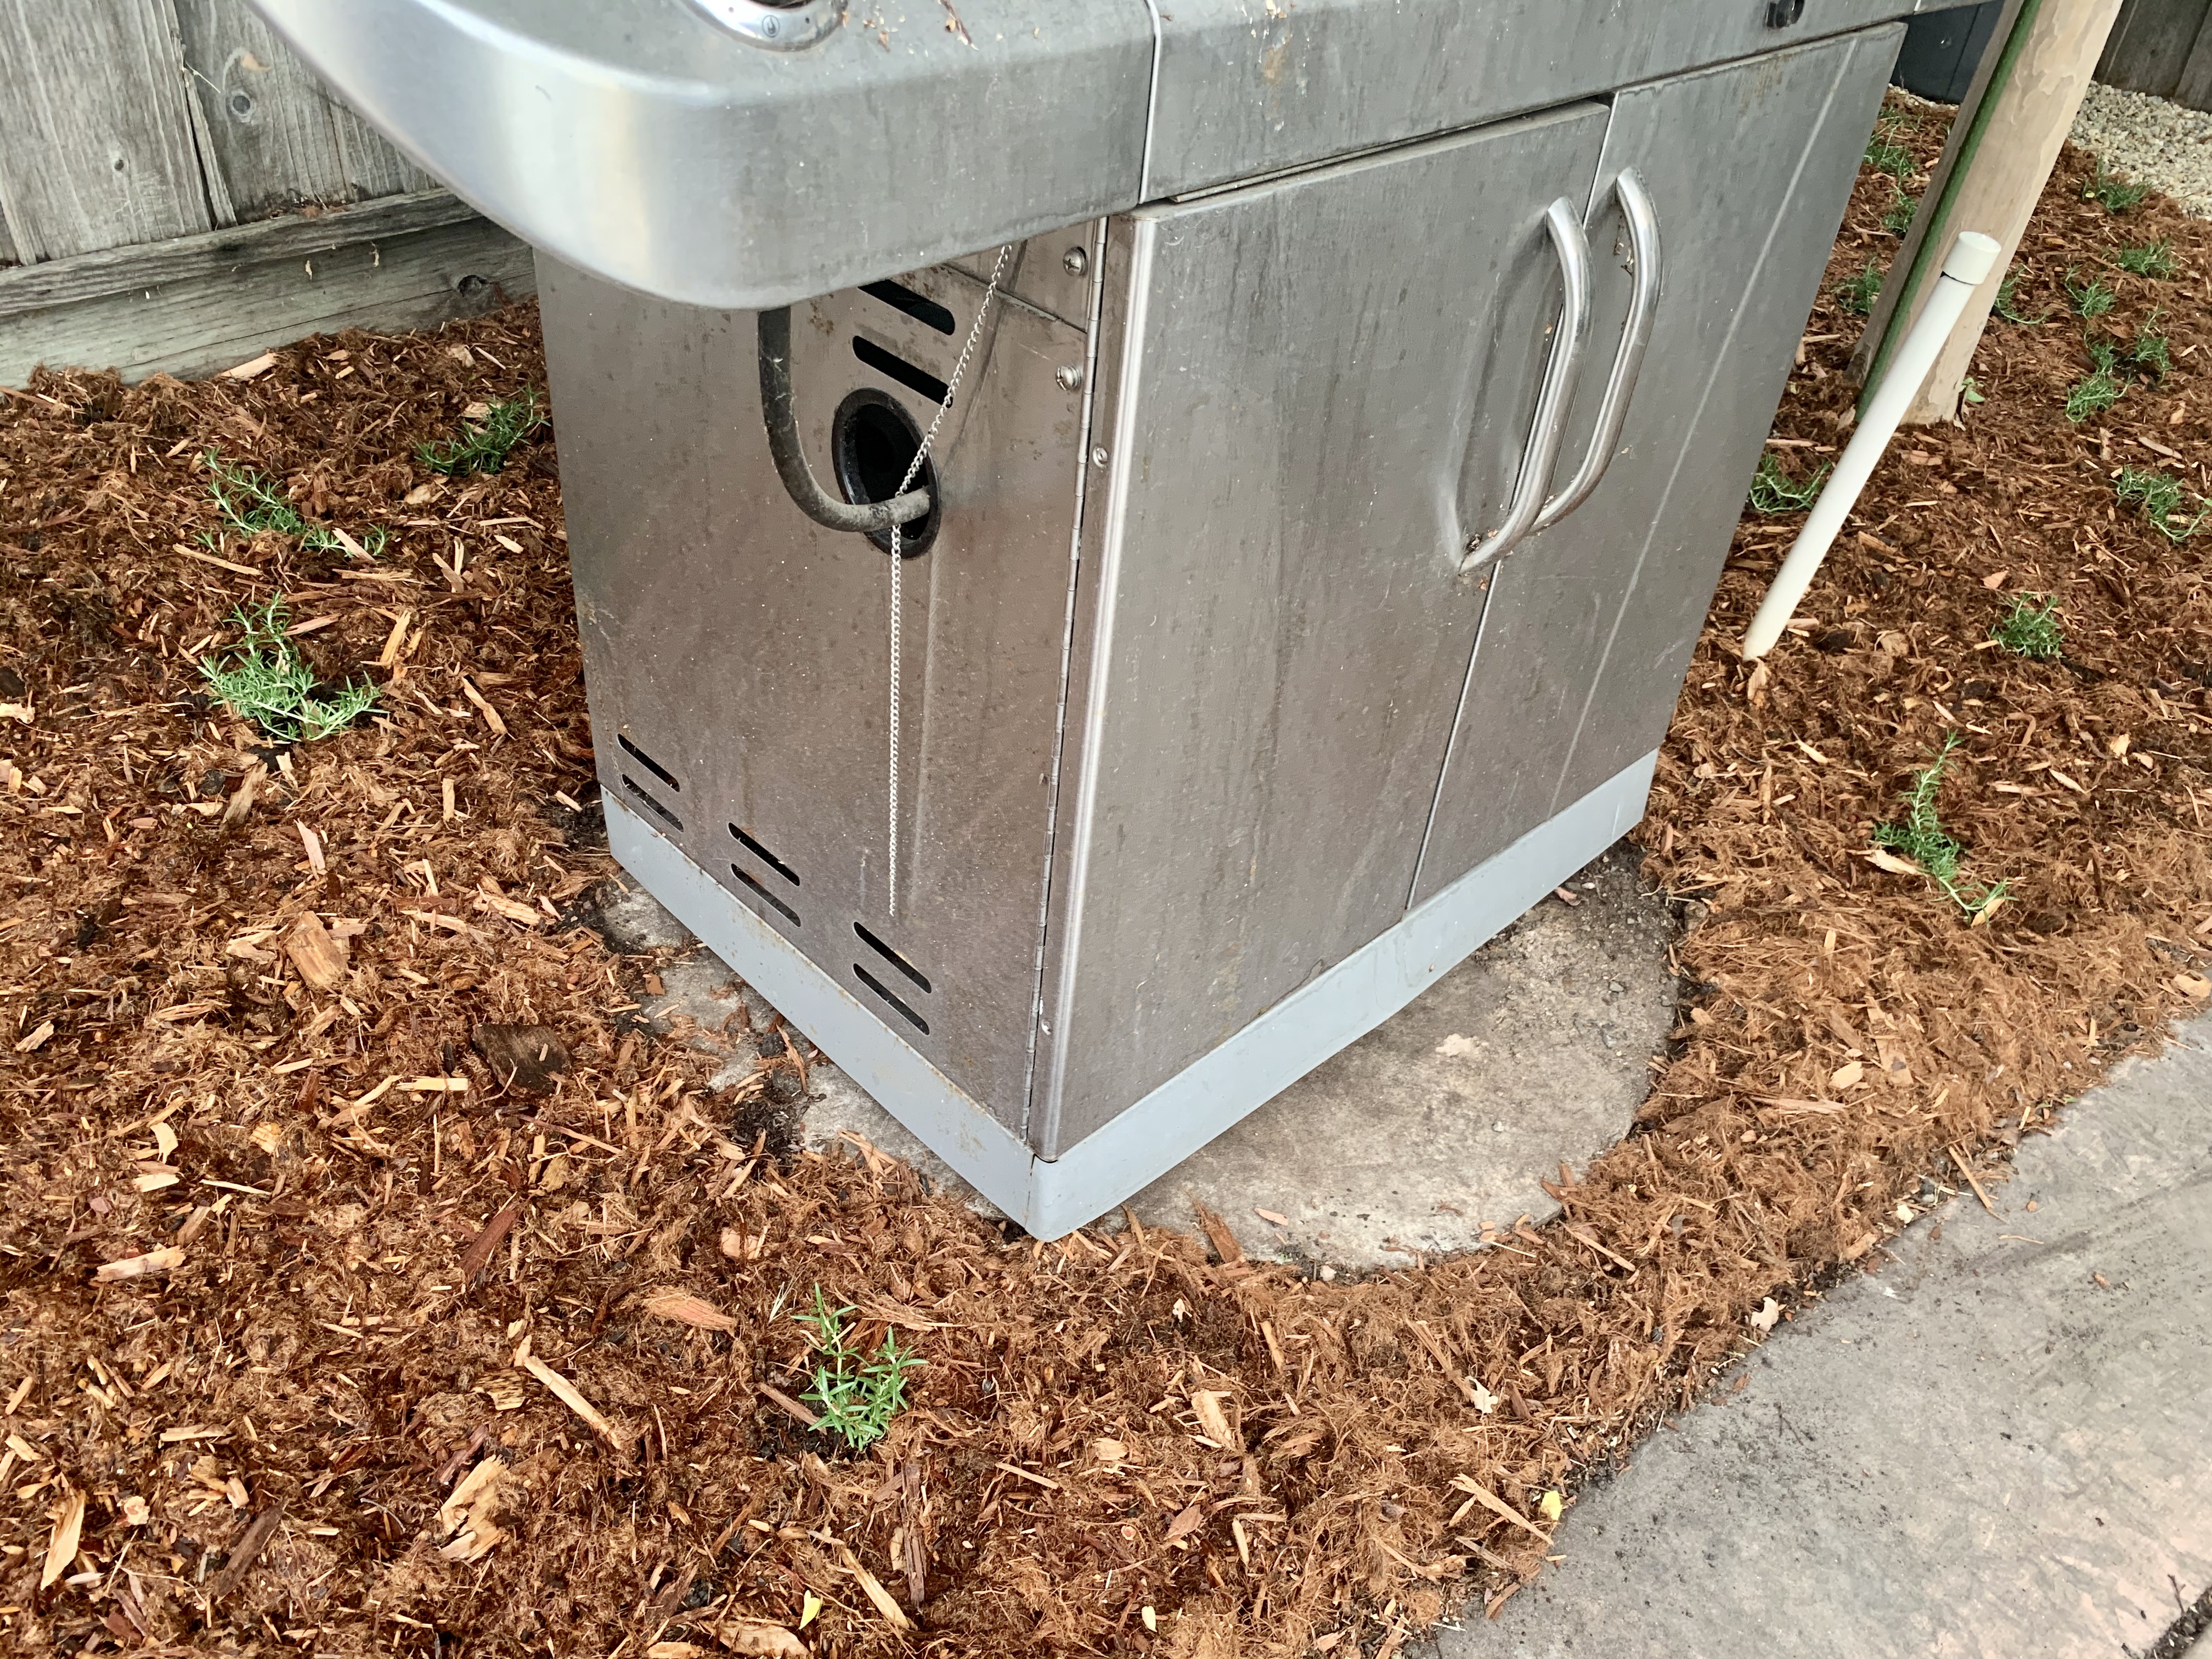
BBQ Grill Has a Home Now
It turns out that after years of rolling our BBQ here and there around the yard, it actually fits perfectly on the round cement pad which was a leftover from the un-permitted well. It almost looks intentional. I am so happy to re-purpose this cement spot from a vacant eyesore into the BBQ’s home.


That’s It, Gang!
Thanks for reading this far, dear viewer. I hope that this post has been informative, and that you have great success with your own projects. Please be sure to send pics if you plant Trailing Rosemary Ground Cover!
Best,
Jessica
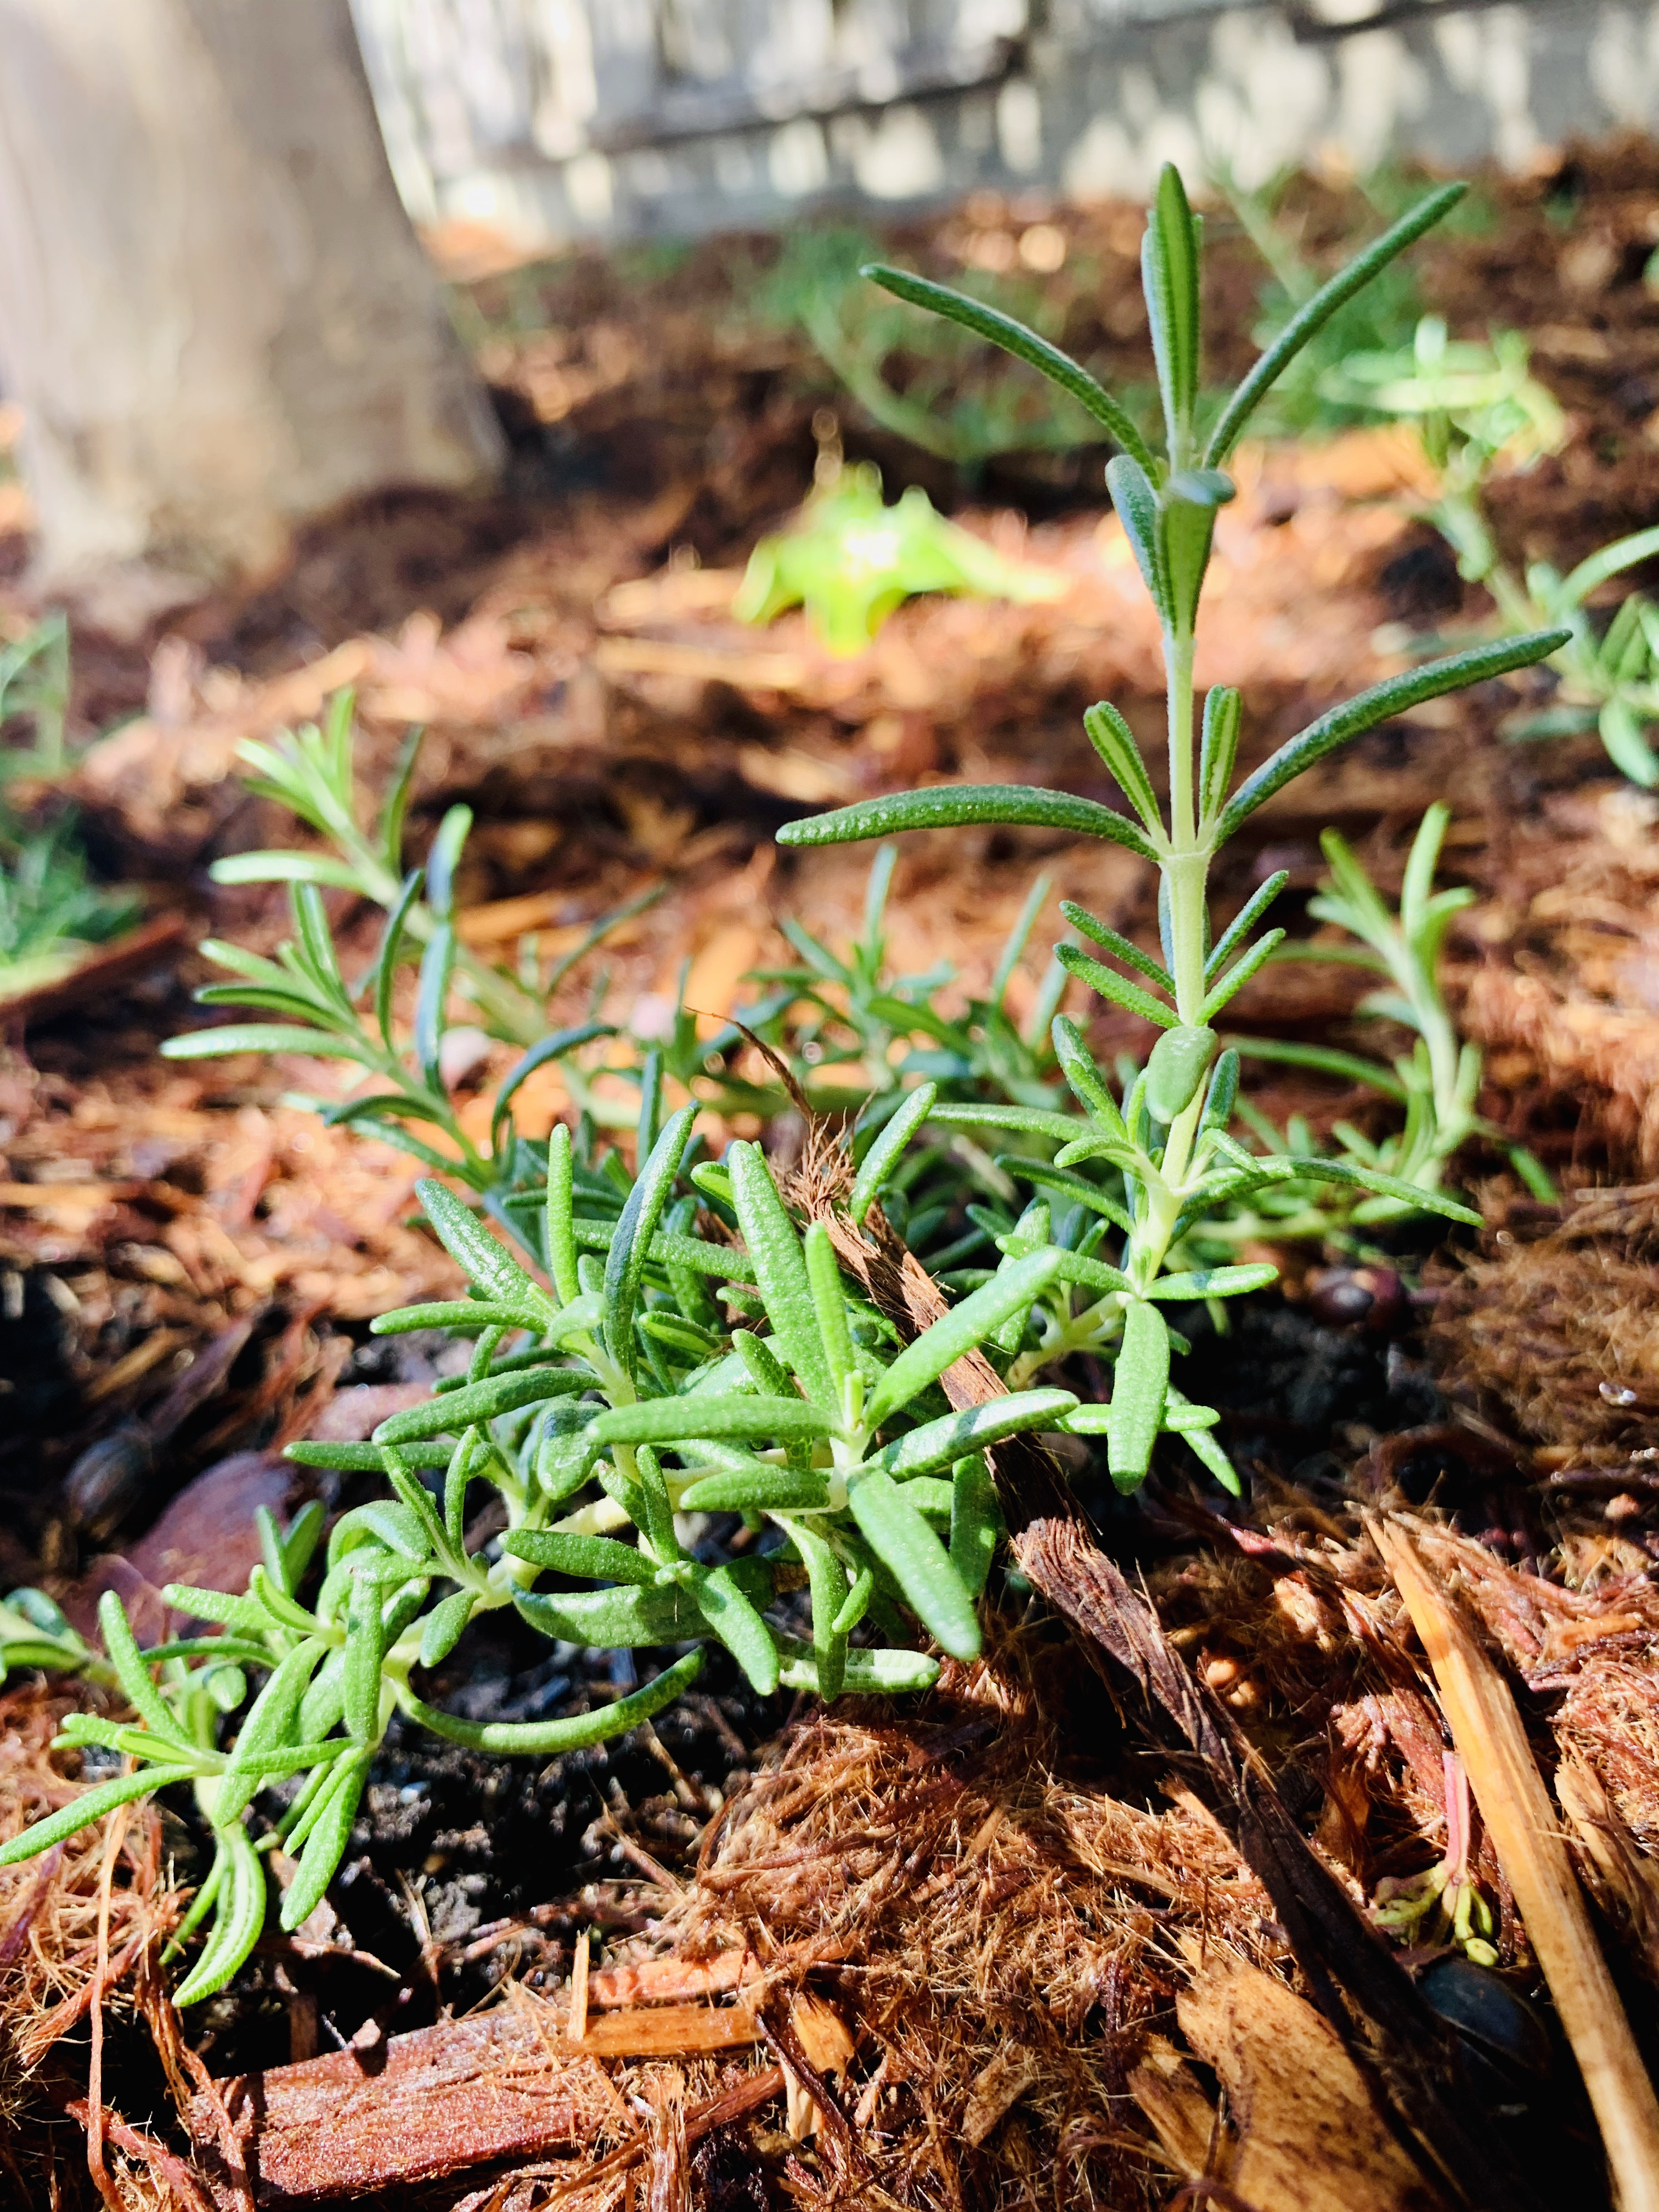
One Month Progress Report
Here are side-by-side photos of Trailing Rosemary Ground Cover. The photo on the left is from June 5, 2020, date of installation. The photo on the right is from 30 days later, July 5, 2020. There has been a good amount of growth in just 30 days!
If the weather is 85 F° degrees or higher, I water every day. If it’s less than 85 F° degrees, I water every other day. After these plants are established, and the temperatures cool, I will move to watering every few days.


Leave a Comment