Welcome to my backyard DIY Dartboard Stand!
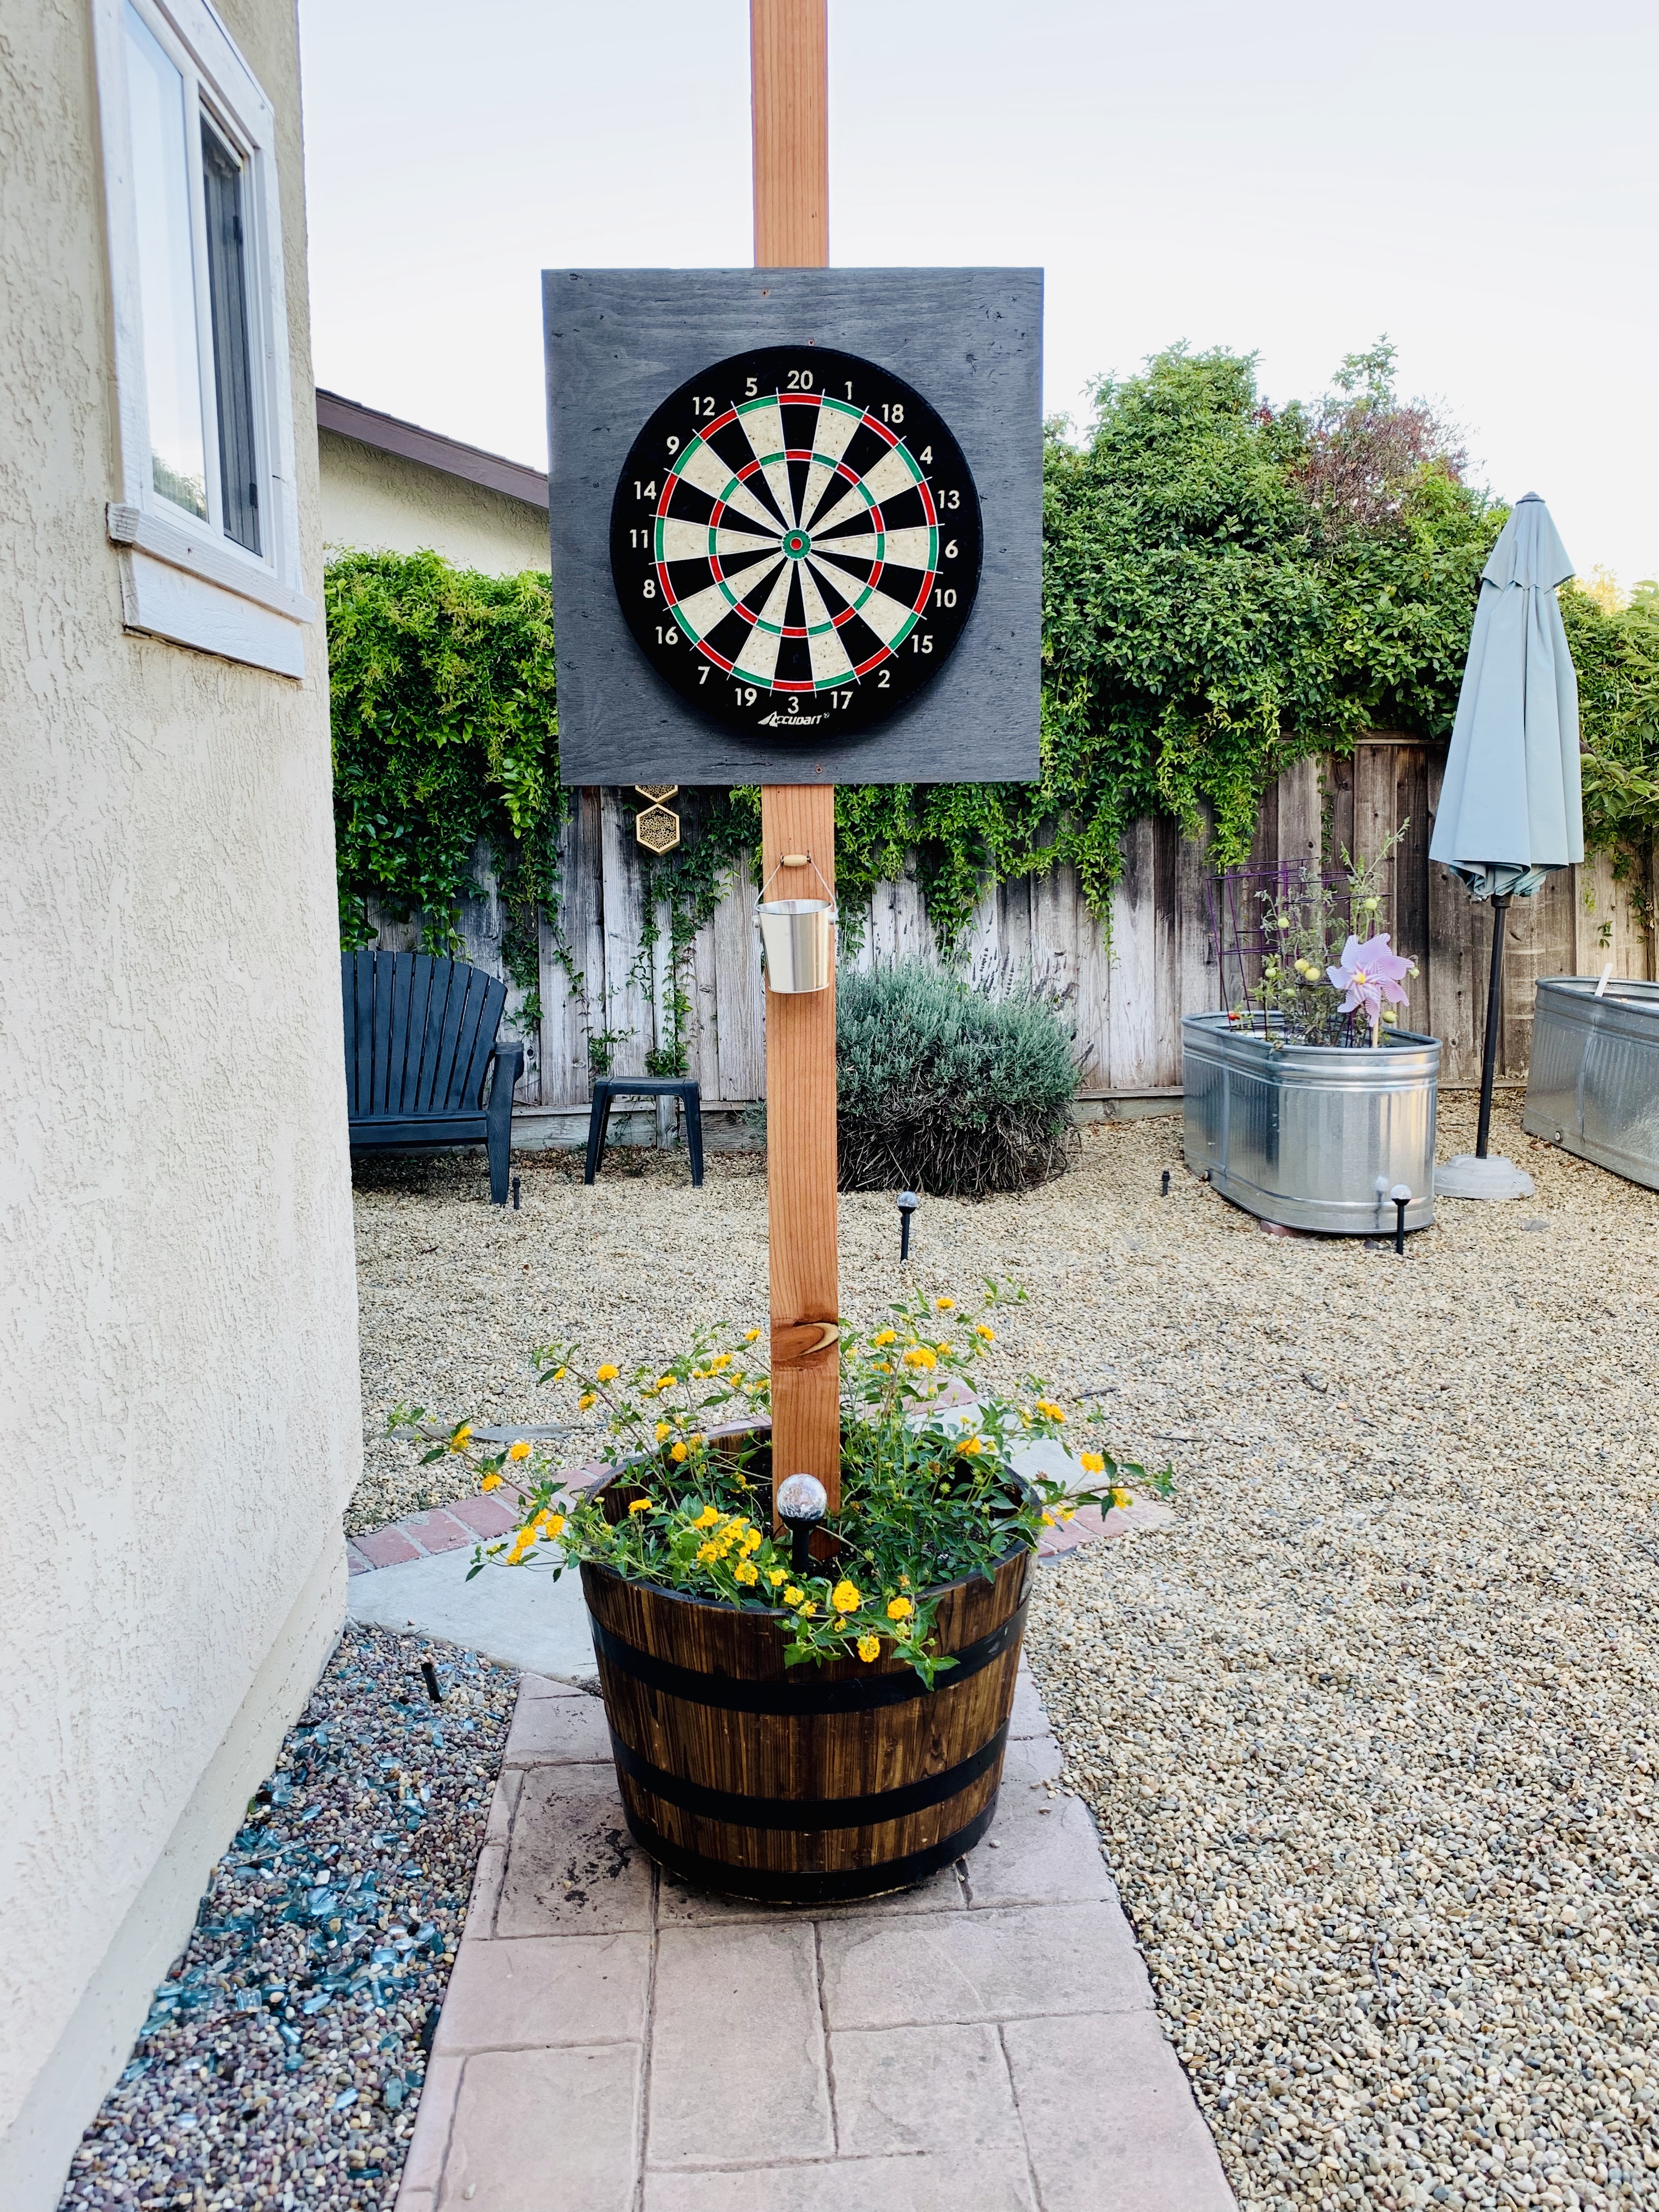
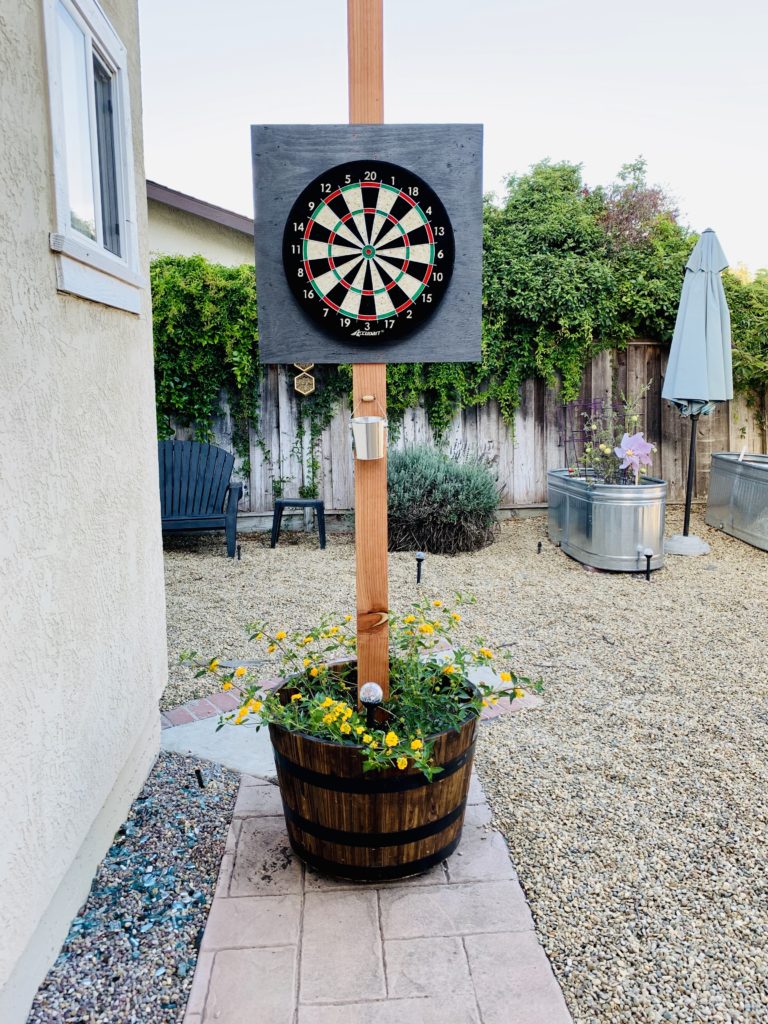
Presenting our DIY Dart Board, in a planter stand, on wheels. This allows us to move the board around our yard to fit our needs and activities.
There are good reasons to put a dart board on a mobile stand.
A dart board requires room for throwing, AND room for errant darts. It needs a personal space bubble. Rogue darts can travel 8 to 10 feet past the board! It has been nice to move this board around and continue playing even if we’re using the BBQ, or sitting on the patio. Also, we have neighbors on all three sides of our yard. These neighbors have babies, dogs, cats, pools, etc. With our moveable dart board we have peace of mind that they too are safe.
A Simple Project
Would you like to build your own DIT Dartboard Stand? If yes, read on! I took pics along the way.
Materials: (All purchased from Lowe’s Hardware)
- Post (8ft by 4×4)
- Half barrel
- Quick Cement (50 pound bag)
- Casters (x4)
- Back Board
- Spray Paint
- Bag of Soil (2 cubic feet)
- Plants (I used 3, 1-gallon plants)
Tools and extra things we used:
- Duct Tape
- Wood Screws/Screwdriver
- Card Stock Paper
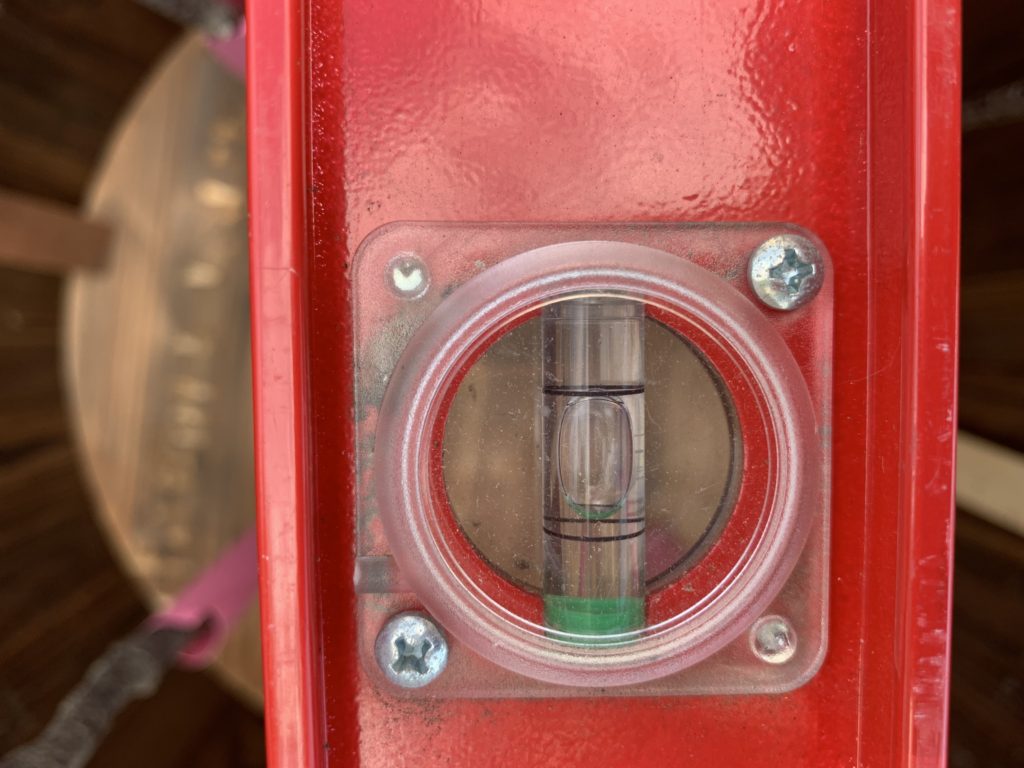
- Level
The Back Board
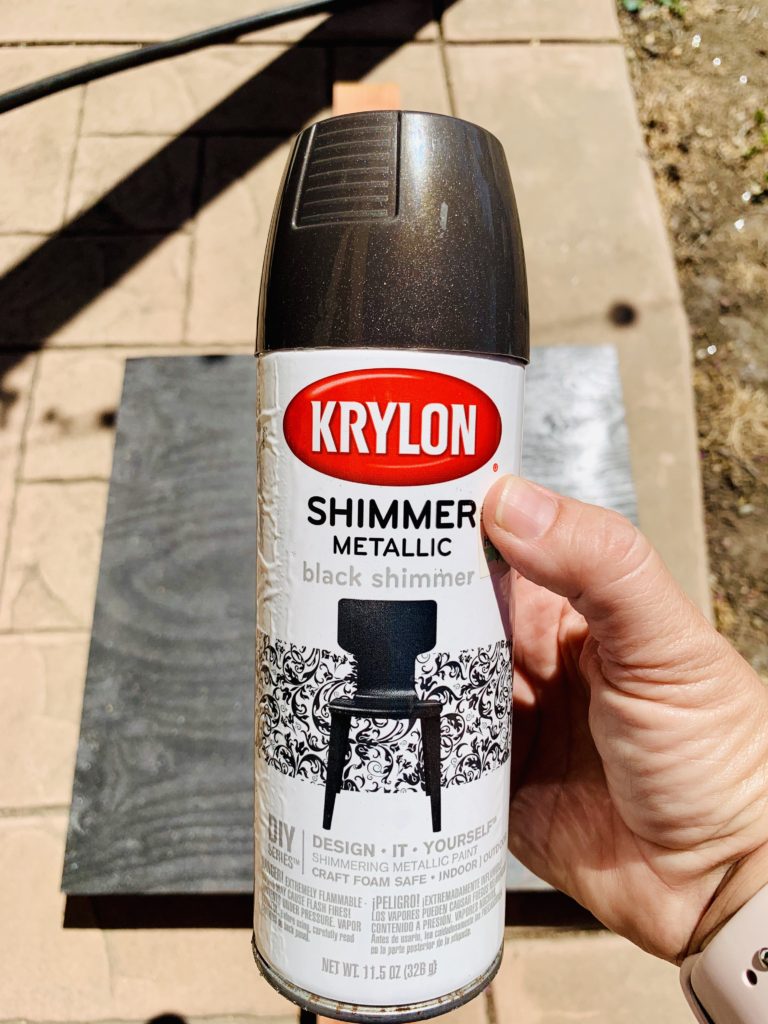
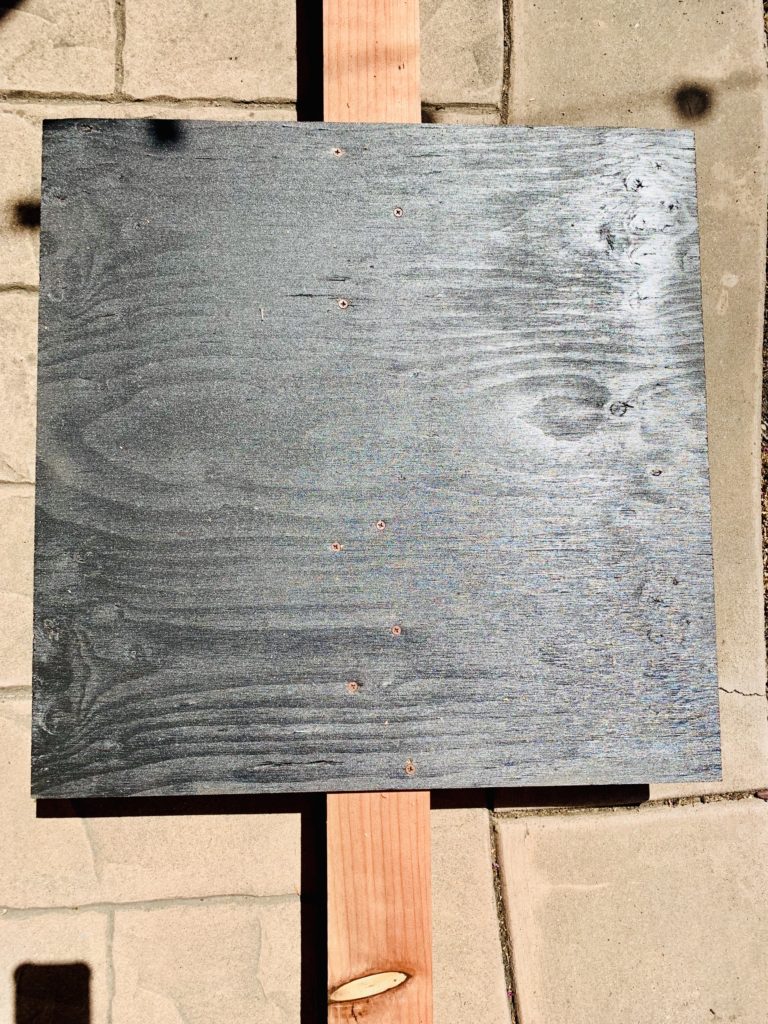
The first thing I did was paint both sides of the pine back board with spray paint that I had leftover from another project. Lowe’s has boards like this one in a variety of sizes and shapes, pre-cut. I was tempted to buy the next larger size. However, our town is windy. Like really windy – our umbrellas lay on the ground most of the time because as soon as we right them, wind comes along and blows them down again. I feared that a larger back board would be like a sail. And so far, this board is the perfect size; it catches plenty of errant darts and hasn’t blown over.
My husband attached the board to the post with 8 wood screws. This part of the project required a wee bit o’ math. That’s because the dart board’s bullseye is supposed to be 8 1/2 feet from the ground. We wanted the dart board to be centered on the back board. He had to measure from the ground up, including the casters and the barrel, and then calculate where to place the back board on the post to achieve that 8 1/2 foot bullseye-to-ground distance.
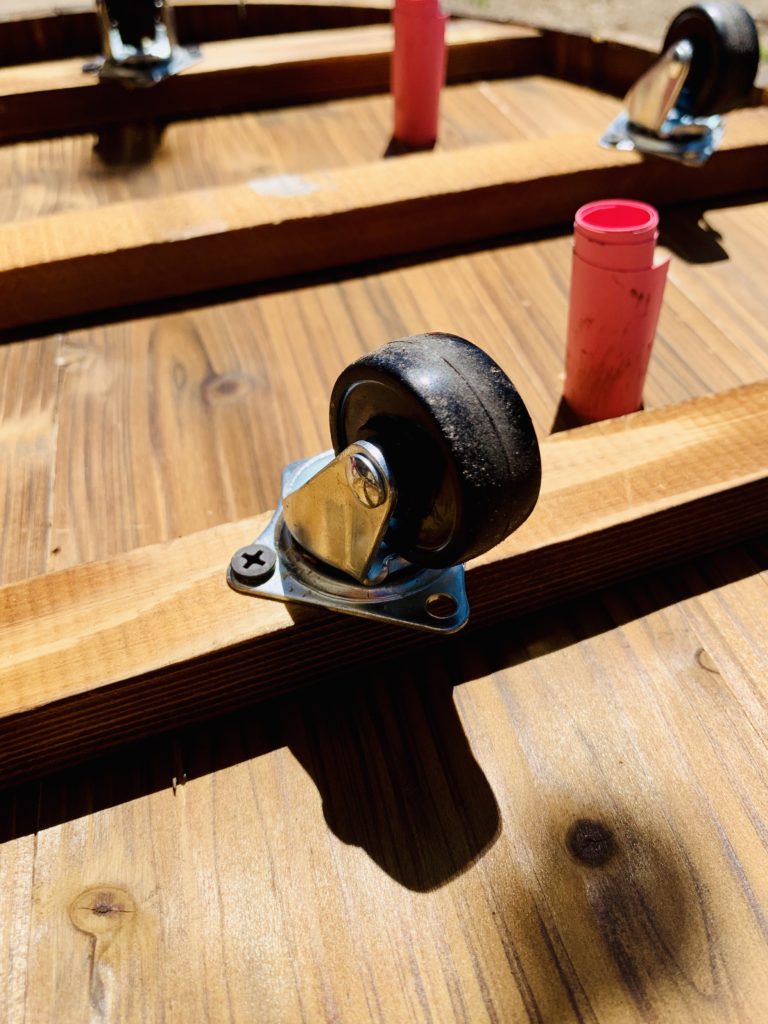
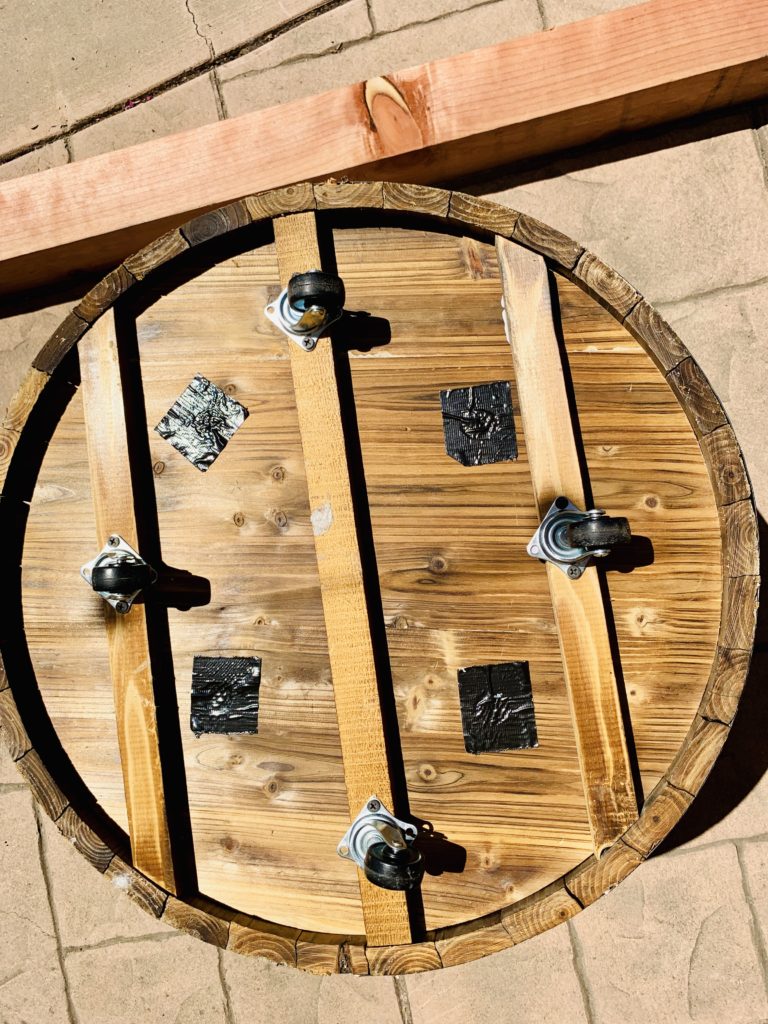
The Casters
Next we screwed casters to the barrel base to allow movement.
Drainage
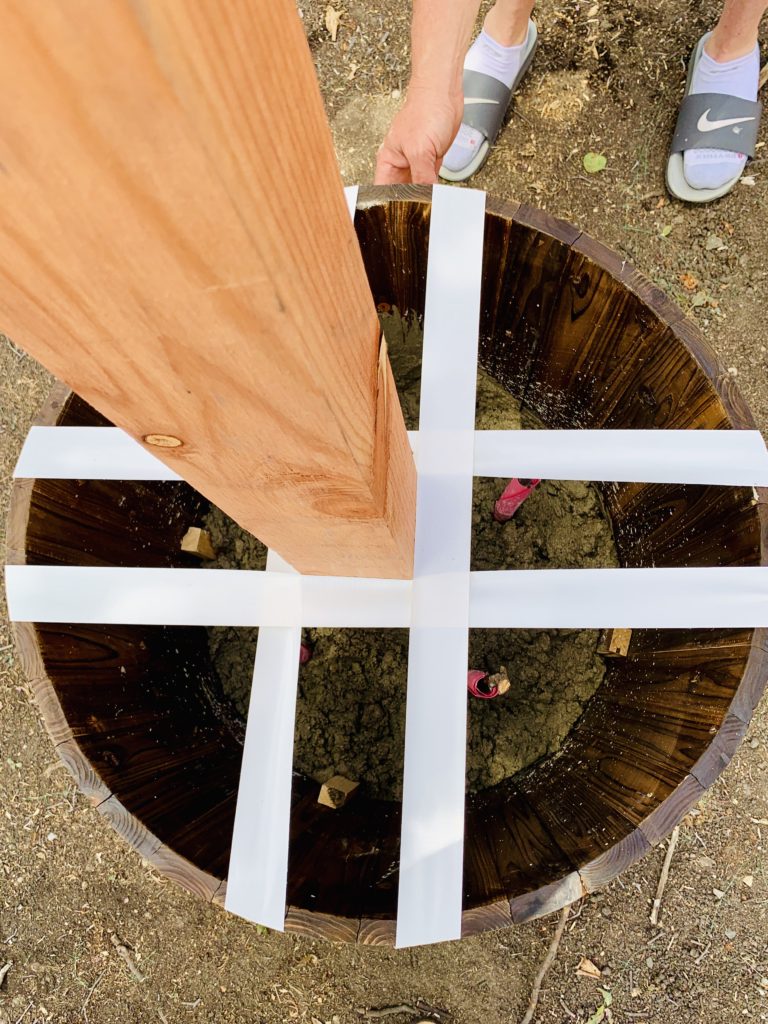
The barrel came with 4 pre-drilled drainage holes. We searched our house for something to plug the drainage holes with to keep them open when the cement was poured. I didn’t feel like taking another trip to Lowe’s to find the perfect hole-blocker. So when my daughter suggested heavy-duty card stock paper rolled into tubes, I said heck yes! I still worried that the wet cement would wilt the paper, and then we’d end up with 4 blocked drainage holes. It’s risky being lazy on projects. At the last minute, we scrounged up 4 sticks and put those into the middle of the card stock tubes, for a little extra stability against the wet cement. It worked!
You might have noticed that I had the pink card stock paper going all the way through the drainage holes in the previous pic. But after thinking about it, we decided to cover the holes on the underside with duct tape. This was a good decision.
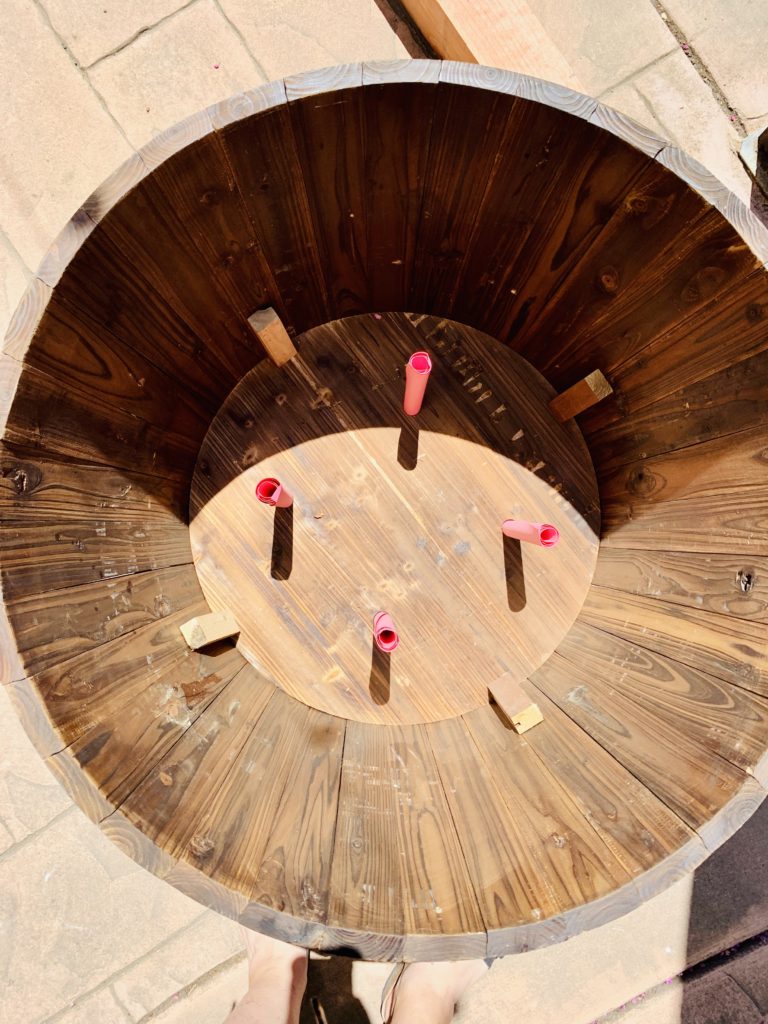
Now the barrel is ready for cement. (For some reason, the pink card stock tubes make me think of Shrek’s little ears. Anyone else see that, or am I crazy??)
The Cement
The label doesn’t lie. This stuff sets QUICKLY!
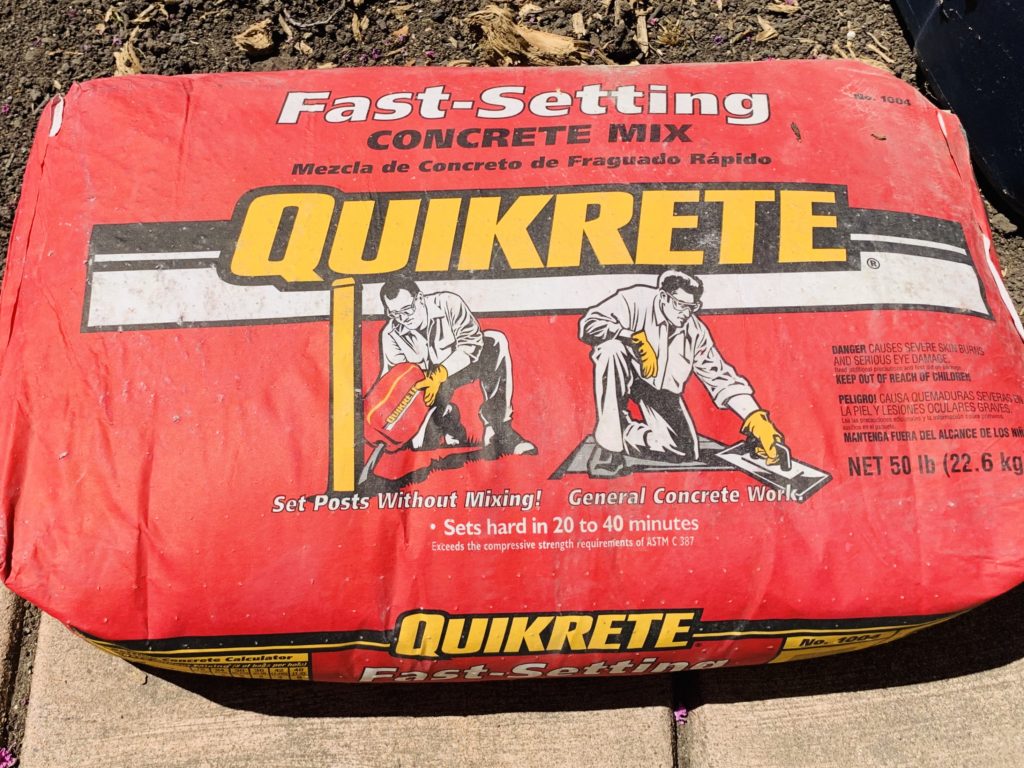
We mixed the cement in a tub instead of inside of the barrel. This was to preserve those pink drainage tubes. The label indicates that mixing isn’t required. But we found that mixing was necessary. And we had to work fast.

Getting it Straight
Before we poured the cement into the barrel, we placed the post in the middle, and then used a level to make sure it was straight in all directions. Who wants to throw darts at a tipsy board? This part of the project required three people – two to hold the post in place and a third to shovel the cement in.
Being Patient
I’m sure that there is a better way to do this. But instead of having a human stand with the post for 20-40 minutes while the cement dried, we decided to use duct tape. Humans tend to drift a little – it’s hard to stand completely still for even 5 minutes, much less 40. We checked for level one last time and then placed duct tape all the way around the post. Janky? Yes! But did it work? Yes!!
Bring On The Pretty
We waited overnight before adding a bag of dirt and planting flowers. After the cement dried, the drainage card stock tubes came out easily. They did their job and underneath the dirt, there are 4 fully functioning drainage holes.
Once the cement dried, the post was set, but there was a little bit of wobble. For extra insurance, we bolstered the post on all four sides by placing a stout stick between the post and the walls of the barrel. Then we covered everything with dirt. We debated adding another bag of cement but decided against it because we didn’t want a 100 pound beast of a dart board base.
Lowe’s was clearing out 1 gallon pots of lantana for $2 each. I love this stuff. Lantana’s bright yellow flowers attract butterflies and bees and looks great with the brown barrel.

A Little Improvising
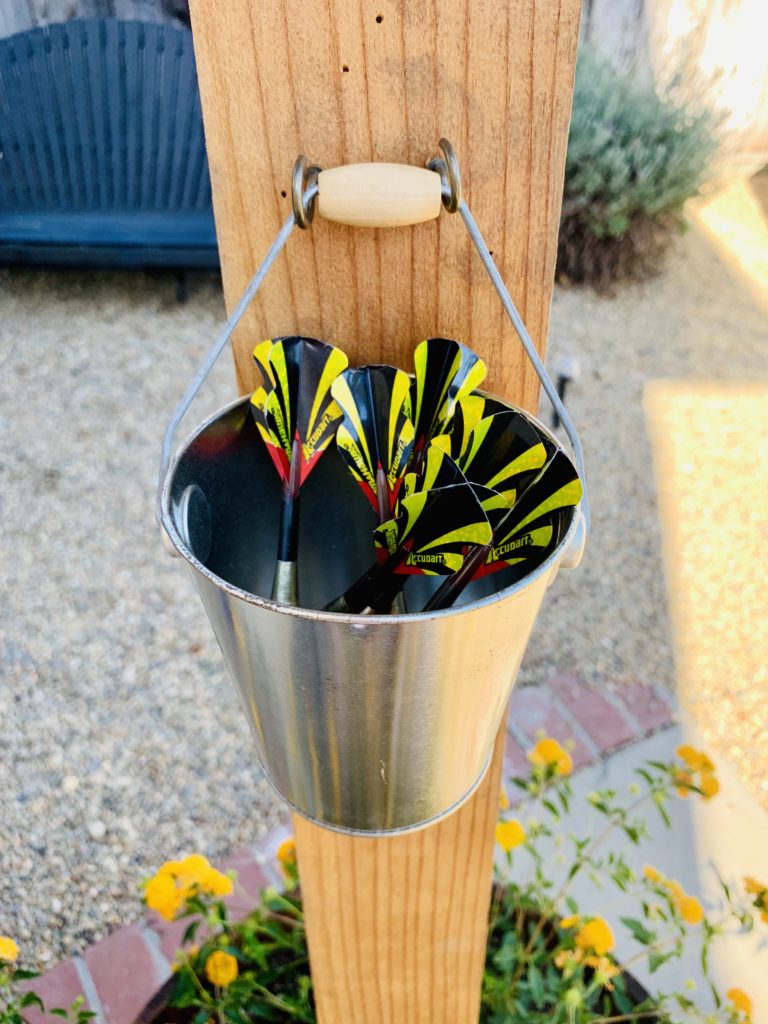
I’d like to thank my youngest daughter for allowing me to steal the small pail that she got years ago as a party favor in the 3rd grade. It was on her desk serving as a pencil holder, but is now in service as a perfect dart holder.
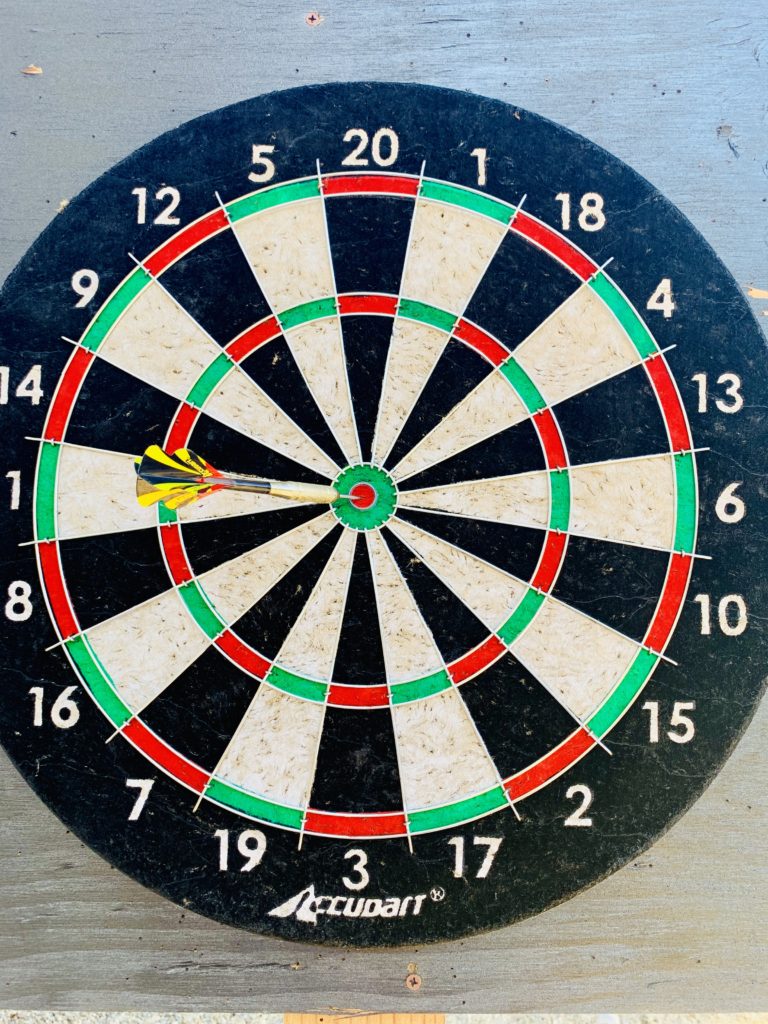
Bullseye!!!
I had figured that my teenagers would play with this dart board a lot. But it turns out that my husband and I and our friends use it the most. Summer evenings, darts and friends is a lovely combination.
If you make your own DIY Dart Board Stand, please send us pics. I wish you happy building and fun!
Happy Bullseyes,
Jessica


Great article, thanks for sharing! Where did you buy the half barrel planter?
Hi David – Thanks! I bought the half barrel planter at Home Depot. If you make your own Dartbaord Stand, send pics. I’d love to see it!
Thank you!!
We love darts and I bought a board and never hung it up. Found your Pin and motivated me to our Quarentine Dart Board. AMAZING!!
all ages are playing so much fun!
Hey Jessica,
I’m about to start building this project tomorrow. Wanted to know how you combat the elements with the dartboard being outside. Do you cover it up when it rains? Do you have a weather resistant board ?
Hi Lauren,
So glad you’re gonna build a dart board stand! During the winter, I remove the dart board from the backboard. Then we move the base into a spot next to our house that has some rain protection. However, my board is not weather resistant. This spring however, the backboard looked almost like new. I think I’ll give it a touch up paint job next spring. If you live in a very wet/humid environment, you may be able to find paint that handles moisture better than the basic spray paint that I used. Please send pics! I’d love to see how it turns out!
Best,
Jessica